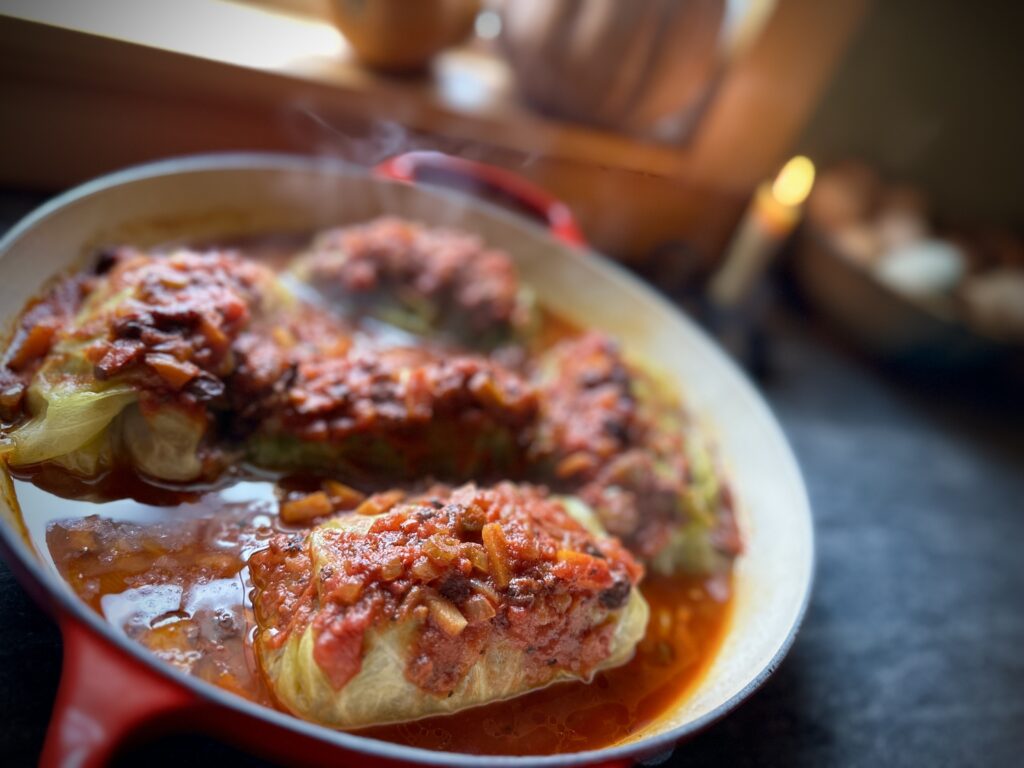

Stuffed Cabbage Rolls (Freezer Friendly)

Old fashioned stuffed cabbage rolls with ground beef and rice in homemade tomato sauce

There are some meals I make all year long, and then there are the ones that belong to a particular season. Stuffed cabbage is firmly in the second camp. You can make my recipe on a smaller scale, but I always double the recipe (at least) so we have some for now and some for later. 

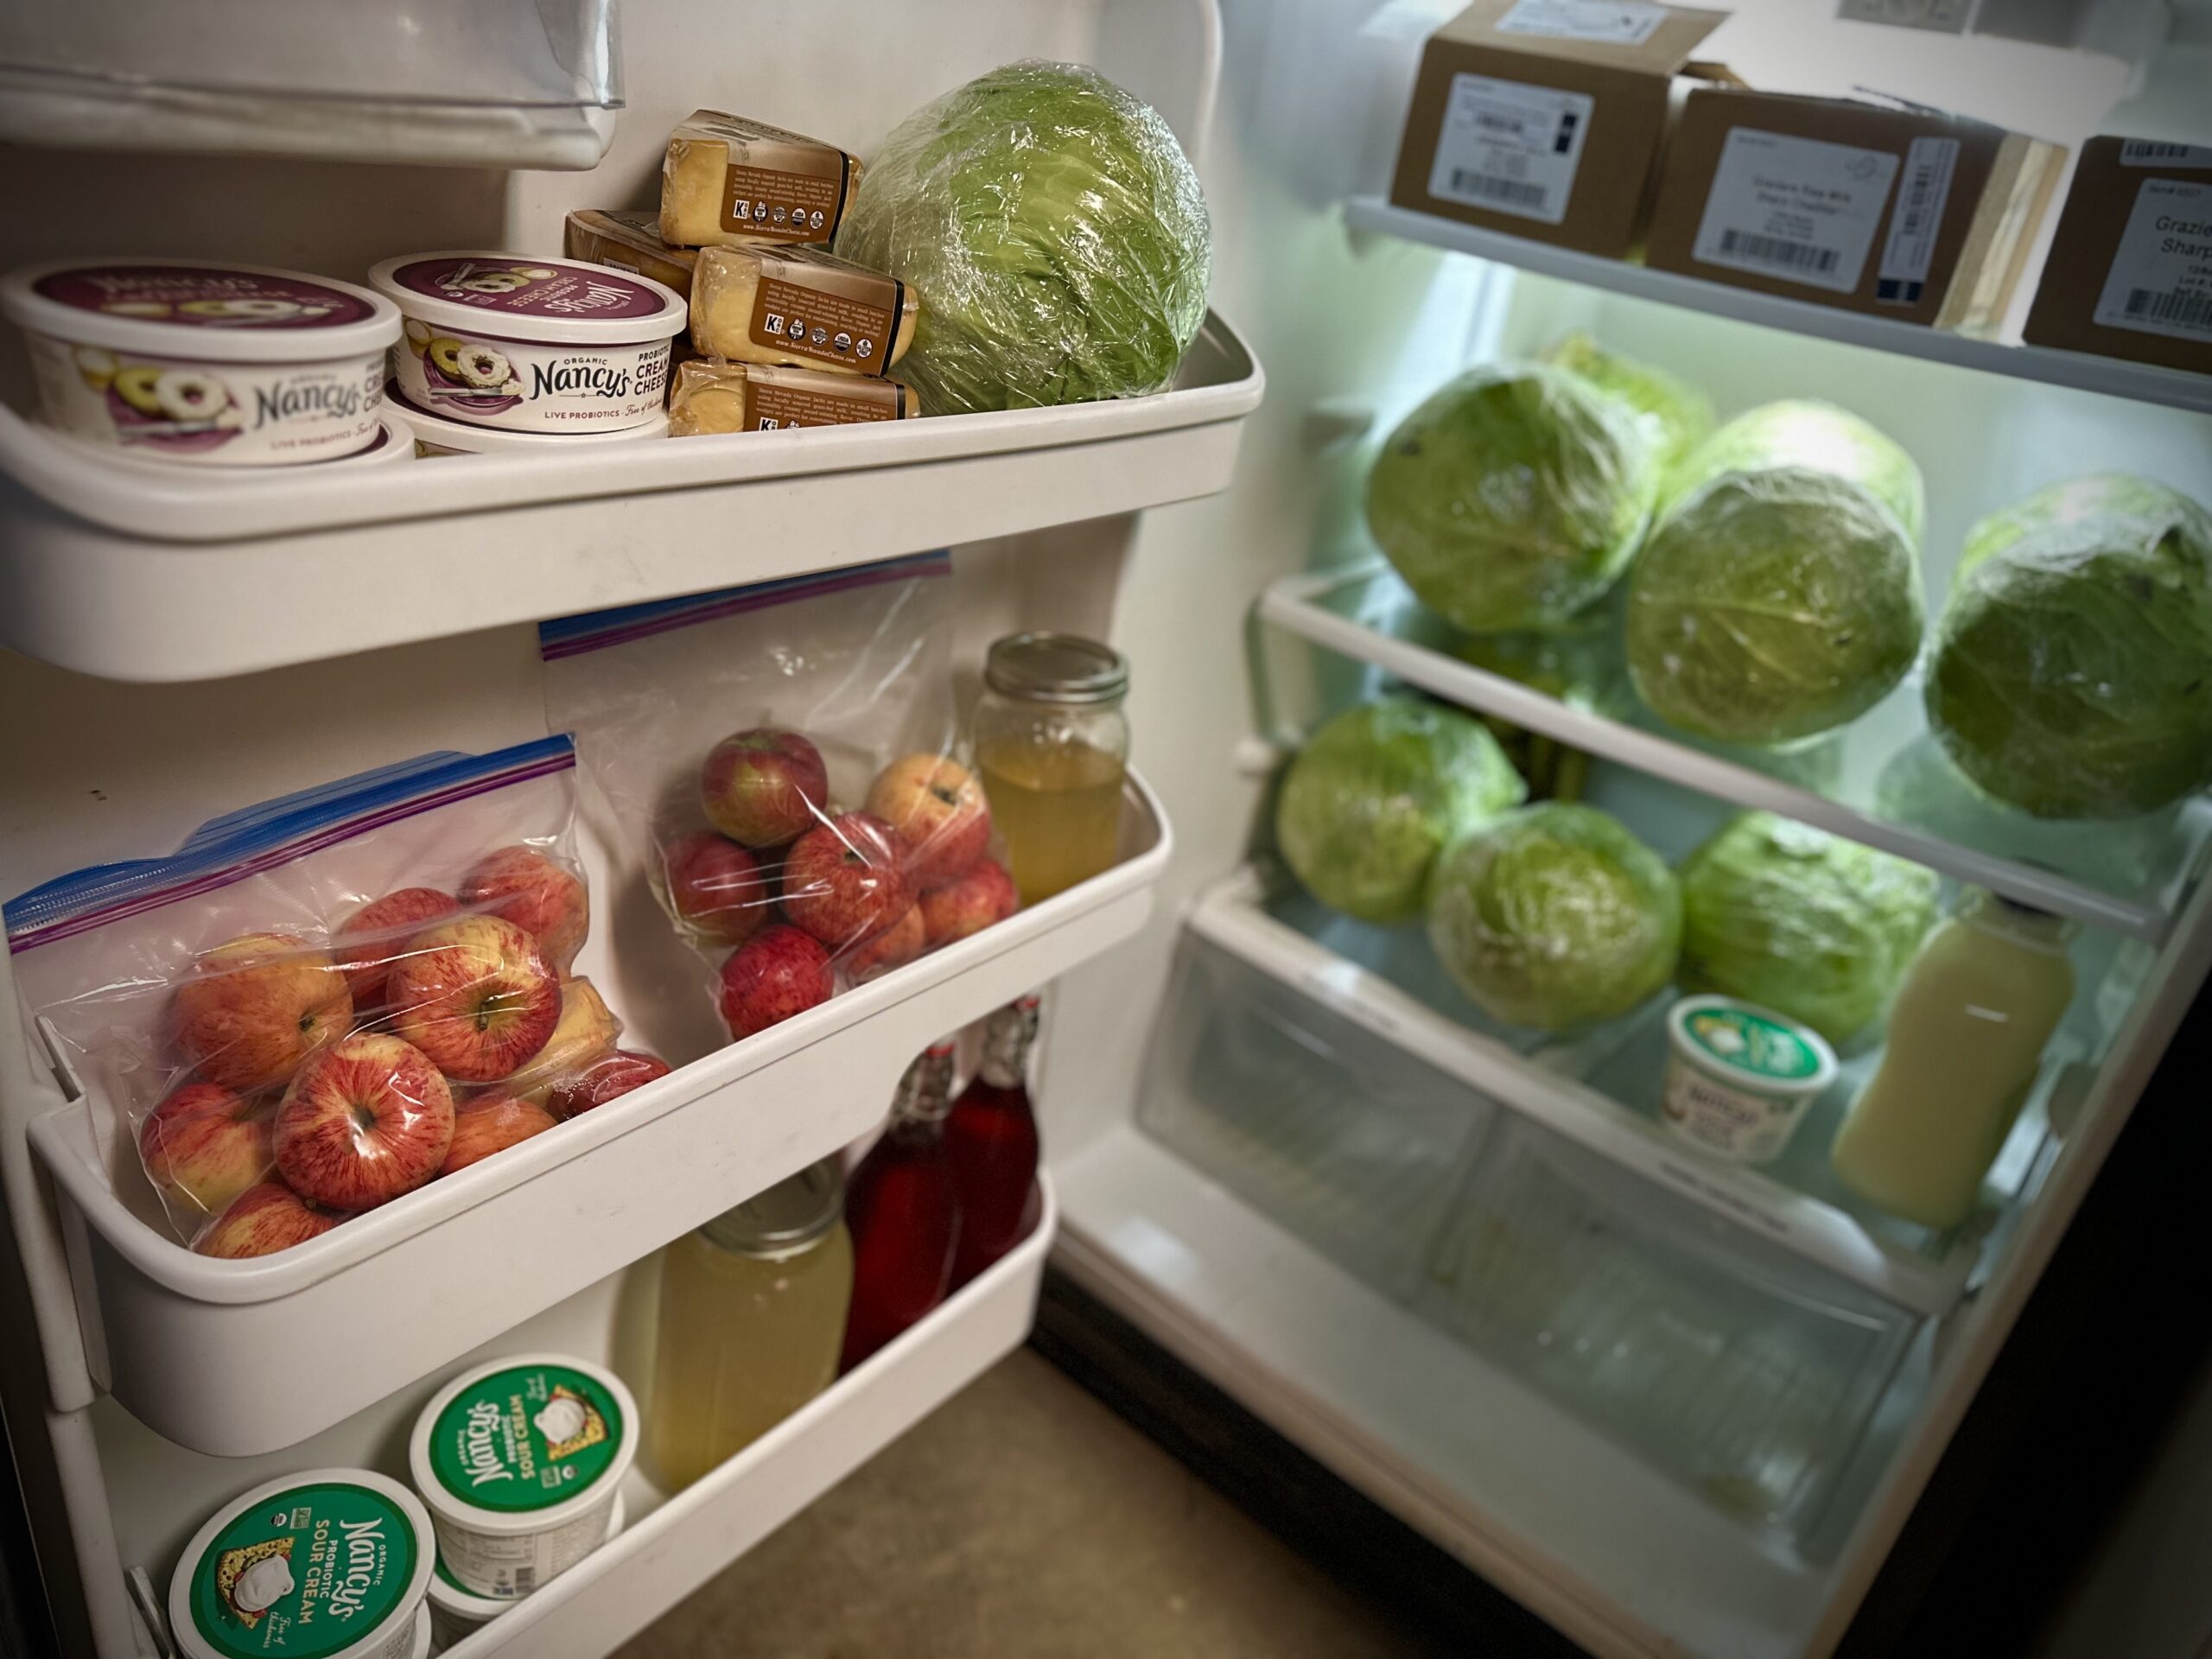
I make a big batch once a year, shortly after the cabbage harvest comes in. By then there are enormous heads of cabbage filling the refrigerator, there’s plenty of ground beef in the freezer from our annual side of beef restock, and the weather has finally turned cool enough that prepping several freezer meals of stuffed cabbage sounds like a good idea.

Heads of fresh cabbage filling the refrigerator before making homemade stuffed cabbage rolls.

Stuffed cabbage is one of those recipes that makes far more sense to me as a larger scale project. If I’m going to blanch cabbage leaves, mix the filling, roll them all up and make a pot of sauce, I’m going to make enough for dinner and enough to tuck into the freezer.

The wonderful thing is that stuffed cabbage doesn’t eat like a freezer meal. Months later, I can pull a package of cabbage rolls and a container of sauce from the freezer and put a real, slow-cooked dinner on the table with almost no work at all.

You would never know this is a “freezer meal.” That’s my favorite kind of freezer food.

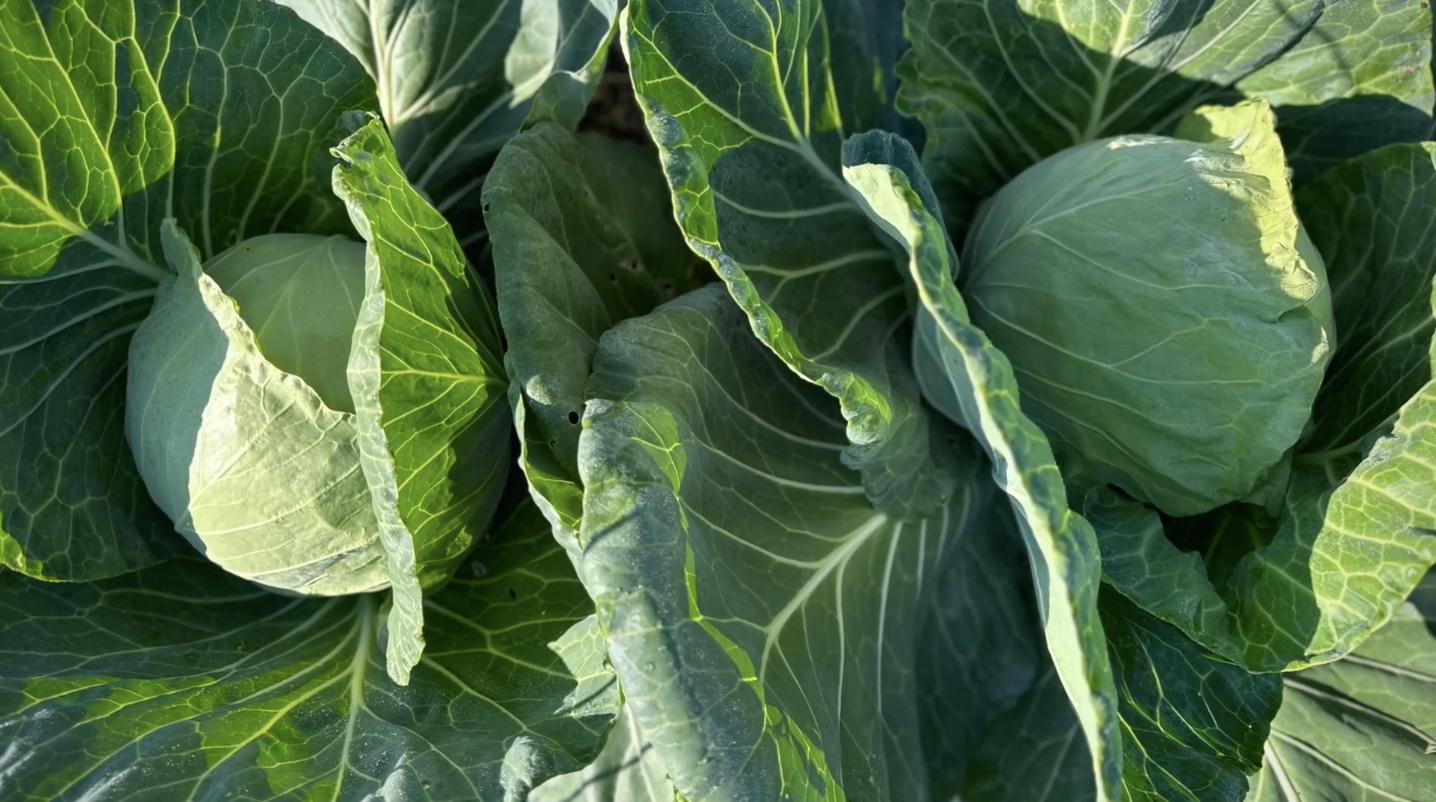
Heads of green cabbage growing in the garden before harvest for homemade stuffed cabbage rolls.

A Harvest Meal That Uses What We Have

One of the realities of buying beef by the half or whole animal is that you get a lot of ground beef.

A LOT of ground beef.

Even without specifically asking for extra, we can easily end up with 50 pounds or more. That’s not a complaint. Ground beef is probably one of the most useful things I can have in my freezer. But it does mean I’m always interested in meals that use it well without making us feel as though we’re eating casseroles, hamburgers, or even the very best meatloaf every other night.

Stuffed cabbage is perfect for that.

Ground beef, rice, and onion make a simple, hearty filling. The cabbage stretches the meat beautifully, and the whole thing cooks in a rich tomato sauce until the cabbage is tender and the filling has absorbed all that flavor.

It’s humble food, but very good and comforting food. There is nostalgia to stuffed cabbage. 

And when the cabbage came from the garden and the beef came from a local animal bought in bulk, it is exactly the kind of cooking our kitchen produces: an excellent meal from what we already have.

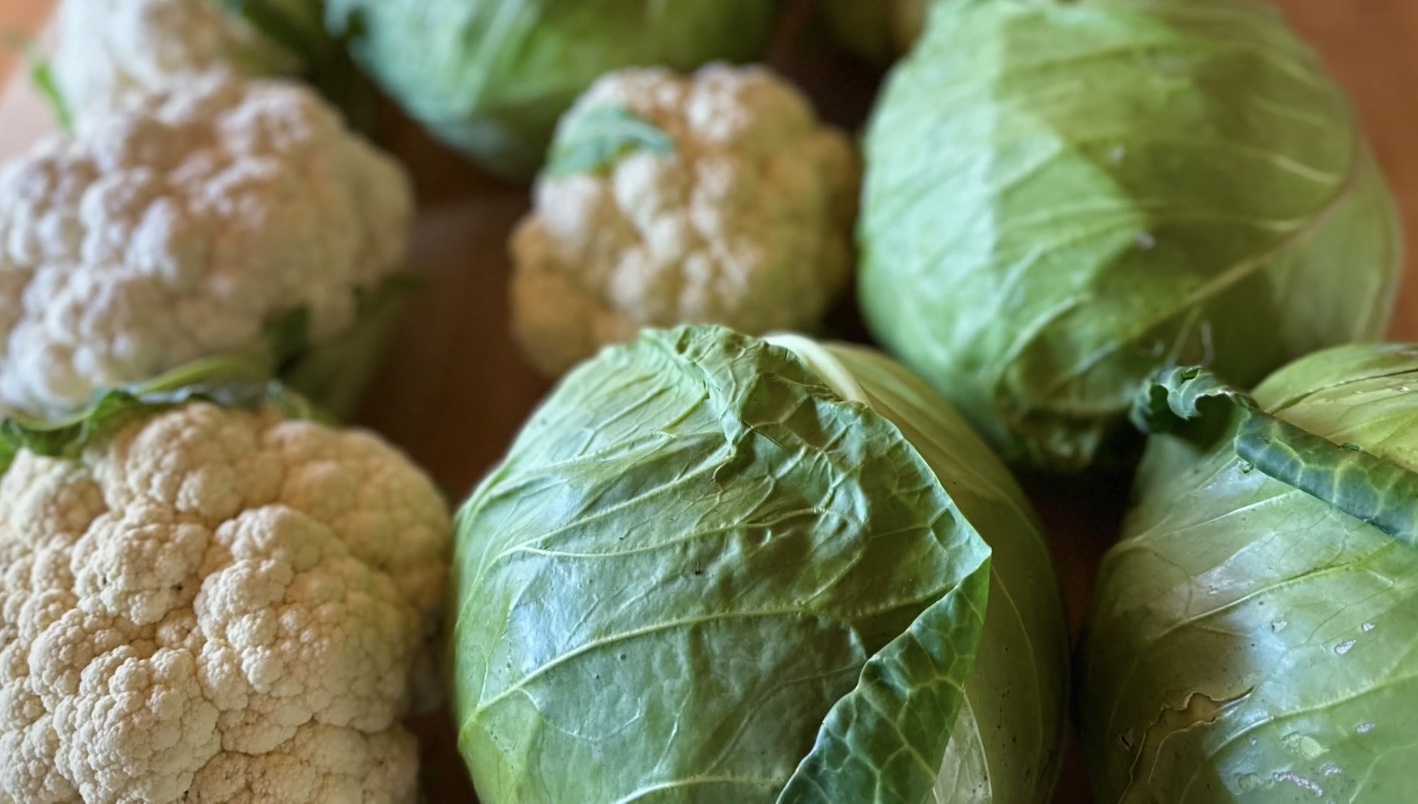
Freshly harvested green cabbage heads ready for making stuffed cabbage rolls.

The Best Cabbage for Stuffed Cabbage Rolls

You don’t need a special variety of cabbage for this recipe. A good, firm head of green cabbage works beautifully.

Larger heads are especially handy because the outer leaves give you plenty of room for rolling. Don’t worry when the leaves get smaller toward the center. Those can still make smaller rolls, or you can save the remaining cabbage for another meal. We like to finely chop the smaller bits of cabbage and use in place of the rice in the filling. It’s a nice swap!

Freshly harvested cabbage can be surprisingly sturdy, so the first job is simply getting those leaves soft enough to roll without breaking. That’s where a quick blanching comes in. 

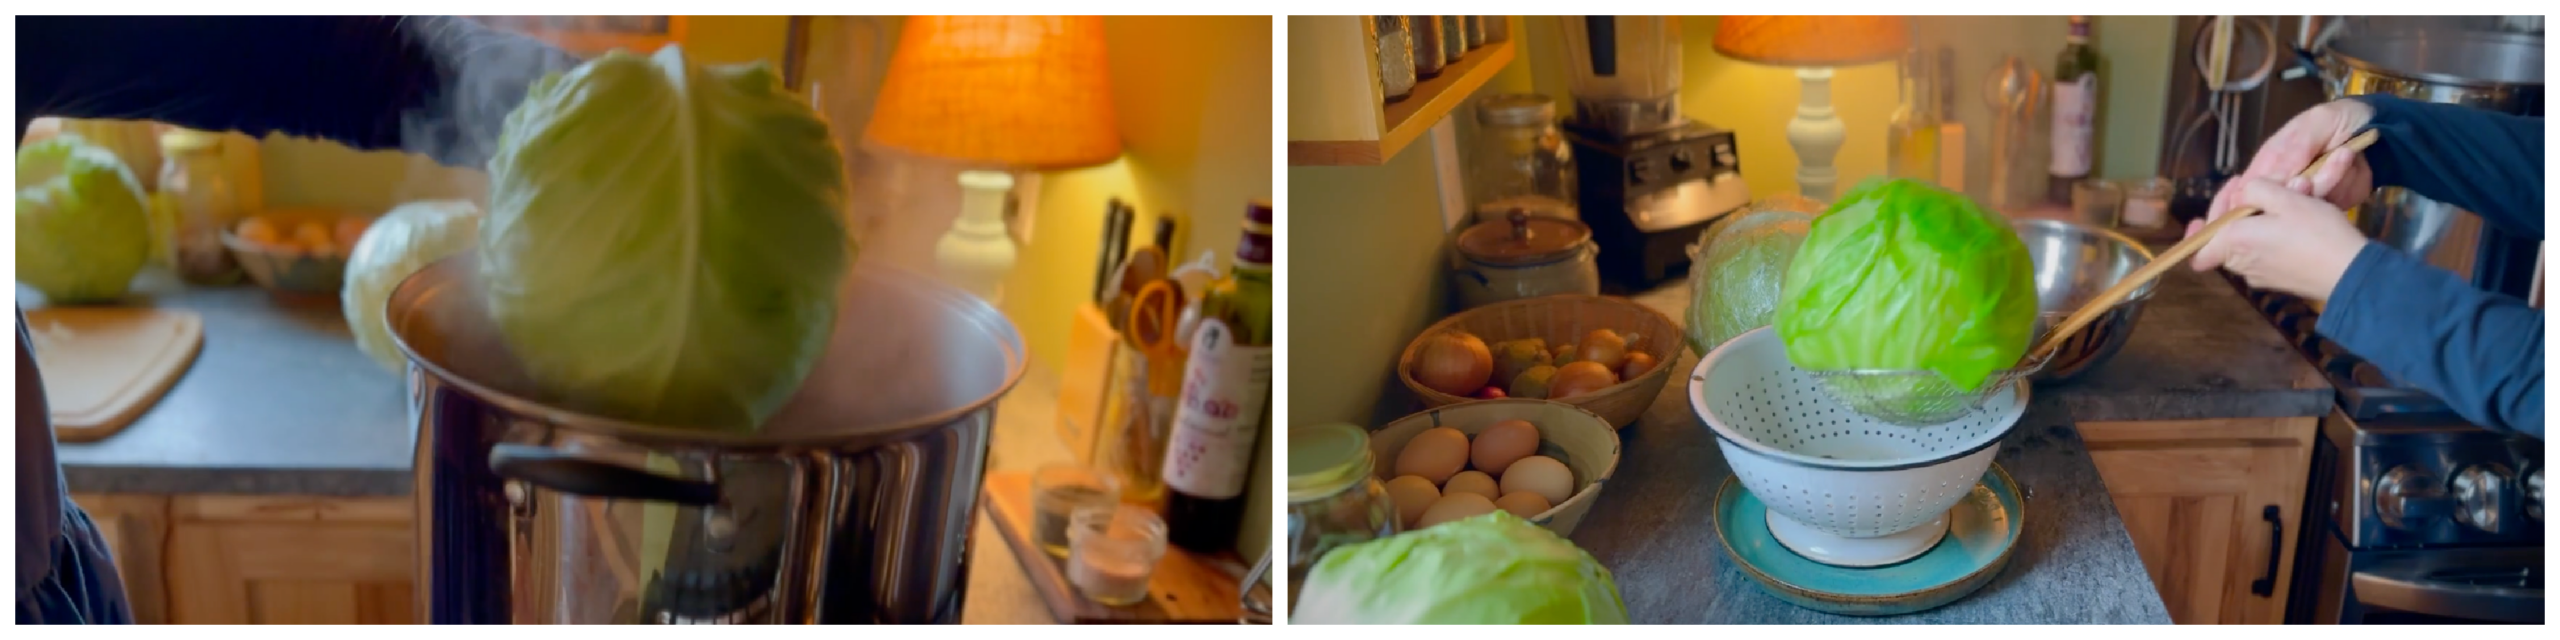
Softening a whole head of cabbage in hot water and removing it as the outer leaves become tender.
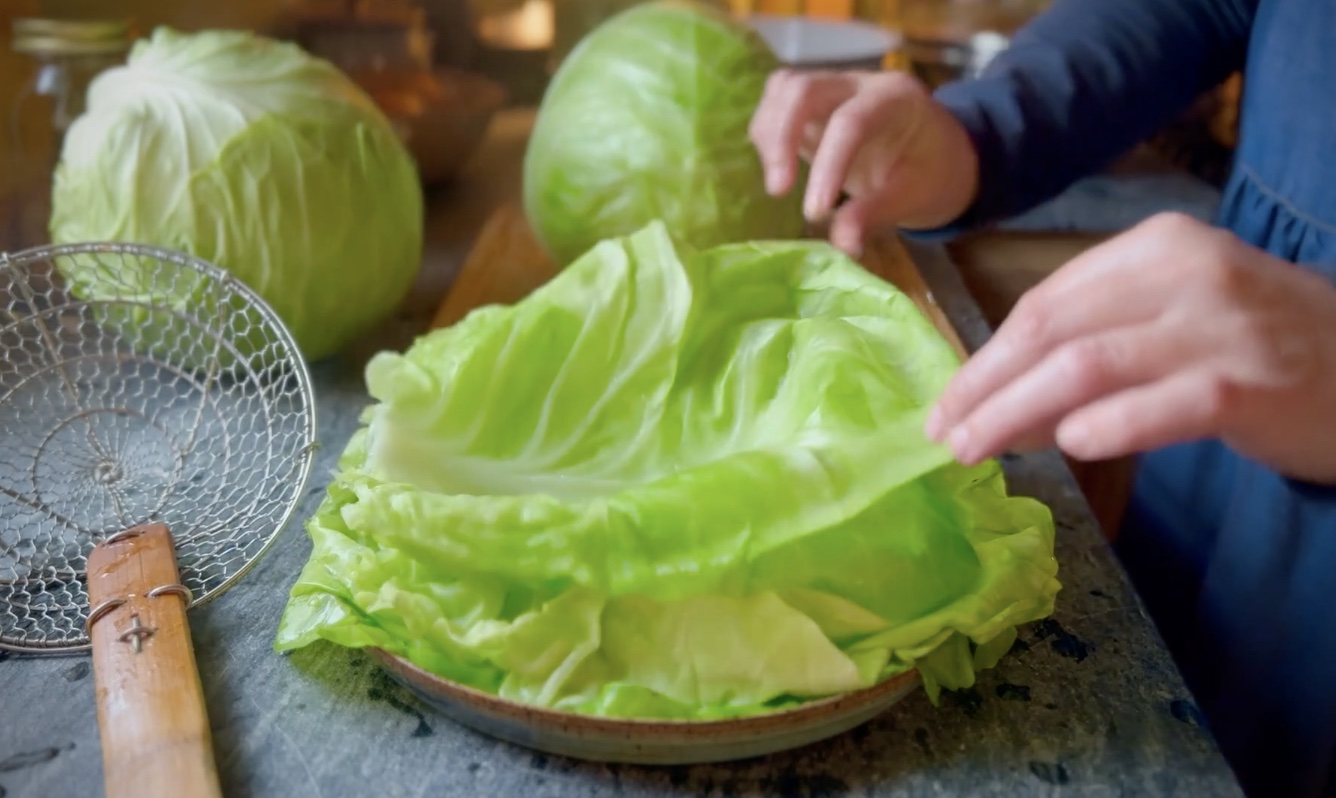
Softened cabbage leaves ready to fill and roll for homemade stuffed cabbage rolls.

How to Soften Cabbage Leaves for Rolling

Rather than trying to peel raw leaves from a tightly packed cabbage, I soften the whole head in simmering water.

  1. Bring a large stockpot of water to a boil. Remove the cabbage core as much as possible, then carefully lower the head into the hot water. As the outer leaves soften, gently loosen them from the head and remove them one at a time.
  2. They don’t need to be fully cooked. You’re simply looking for leaves that are soft and pliable enough to fold around the filling without cracking.
  3. Return the cabbage to the water as necessary and continue until you’ve removed as many good-sized leaves as you need.

Once they’re cool enough to handle, trim down any especially thick portion of the center rib. You want the leaf flexible, but still sturdy enough to hold the filling.

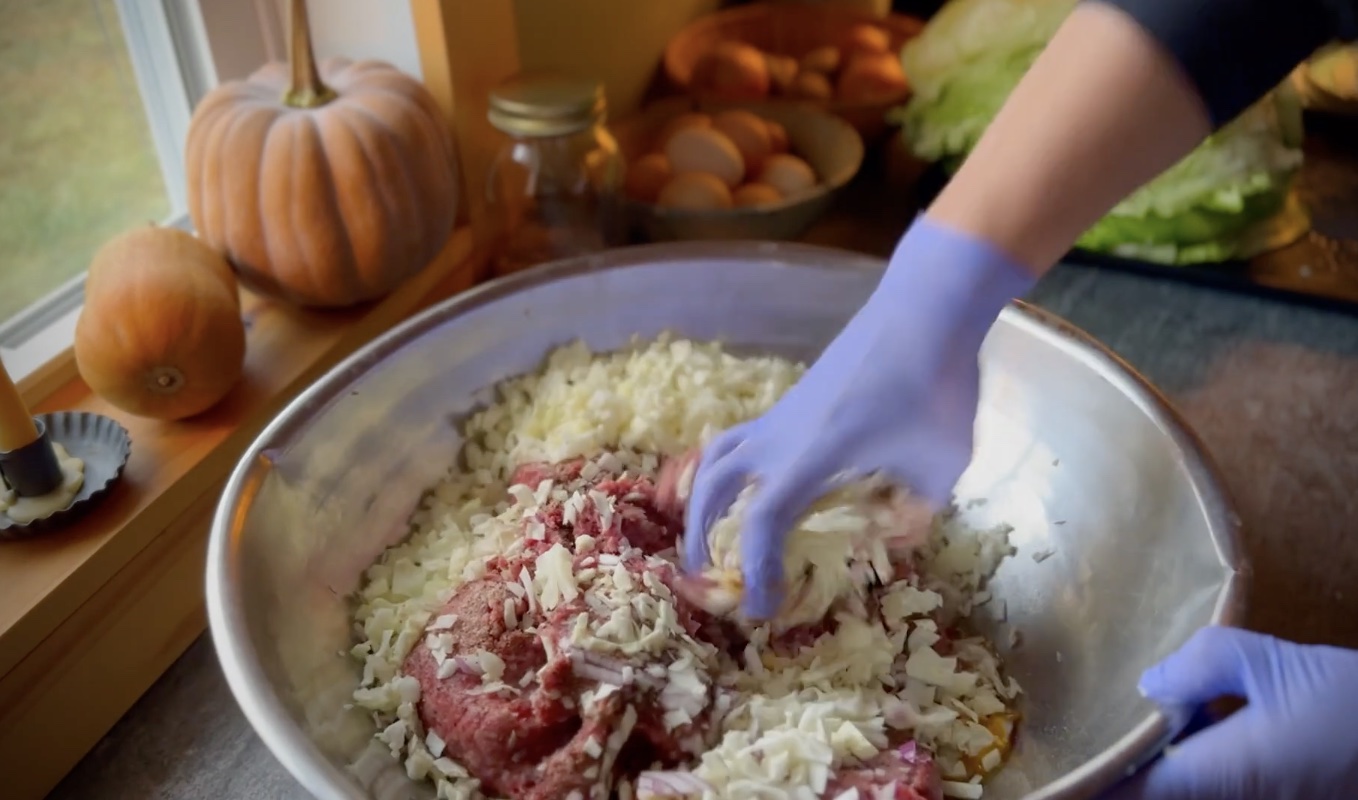
Ground beef filling for stuffed cabbage rolls being mixed by hand with chopped onion, cabbage and eggs.
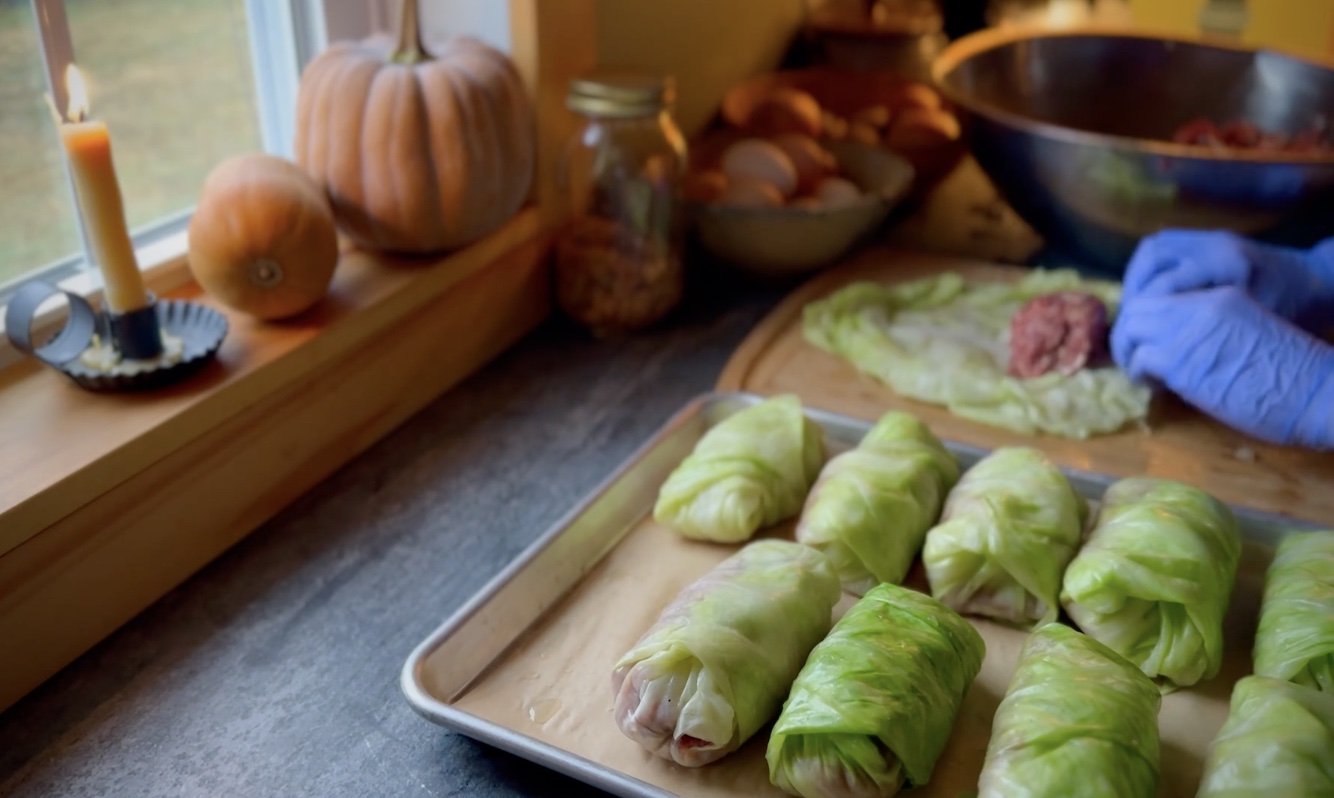
Rolling homemade stuffed cabbage with ground beef filling and softened cabbage leaves.

How to Roll Stuffed Cabbage

  • Lay one softened cabbage leaf on your work surface with the stem end toward you. Add a portion of the meat mixture near the bottom of the leaf.
  • Fold the bottom of the leaf up over the filling, tuck in the sides, and continue rolling until the filling is completely enclosed.
  • Think burrito, but cabbage.
  • They don’t need to be identical. Some cabbage leaves are enormous, some are smaller, some are oddly shaped. Use what the cabbage gives you. That’s real cooking.
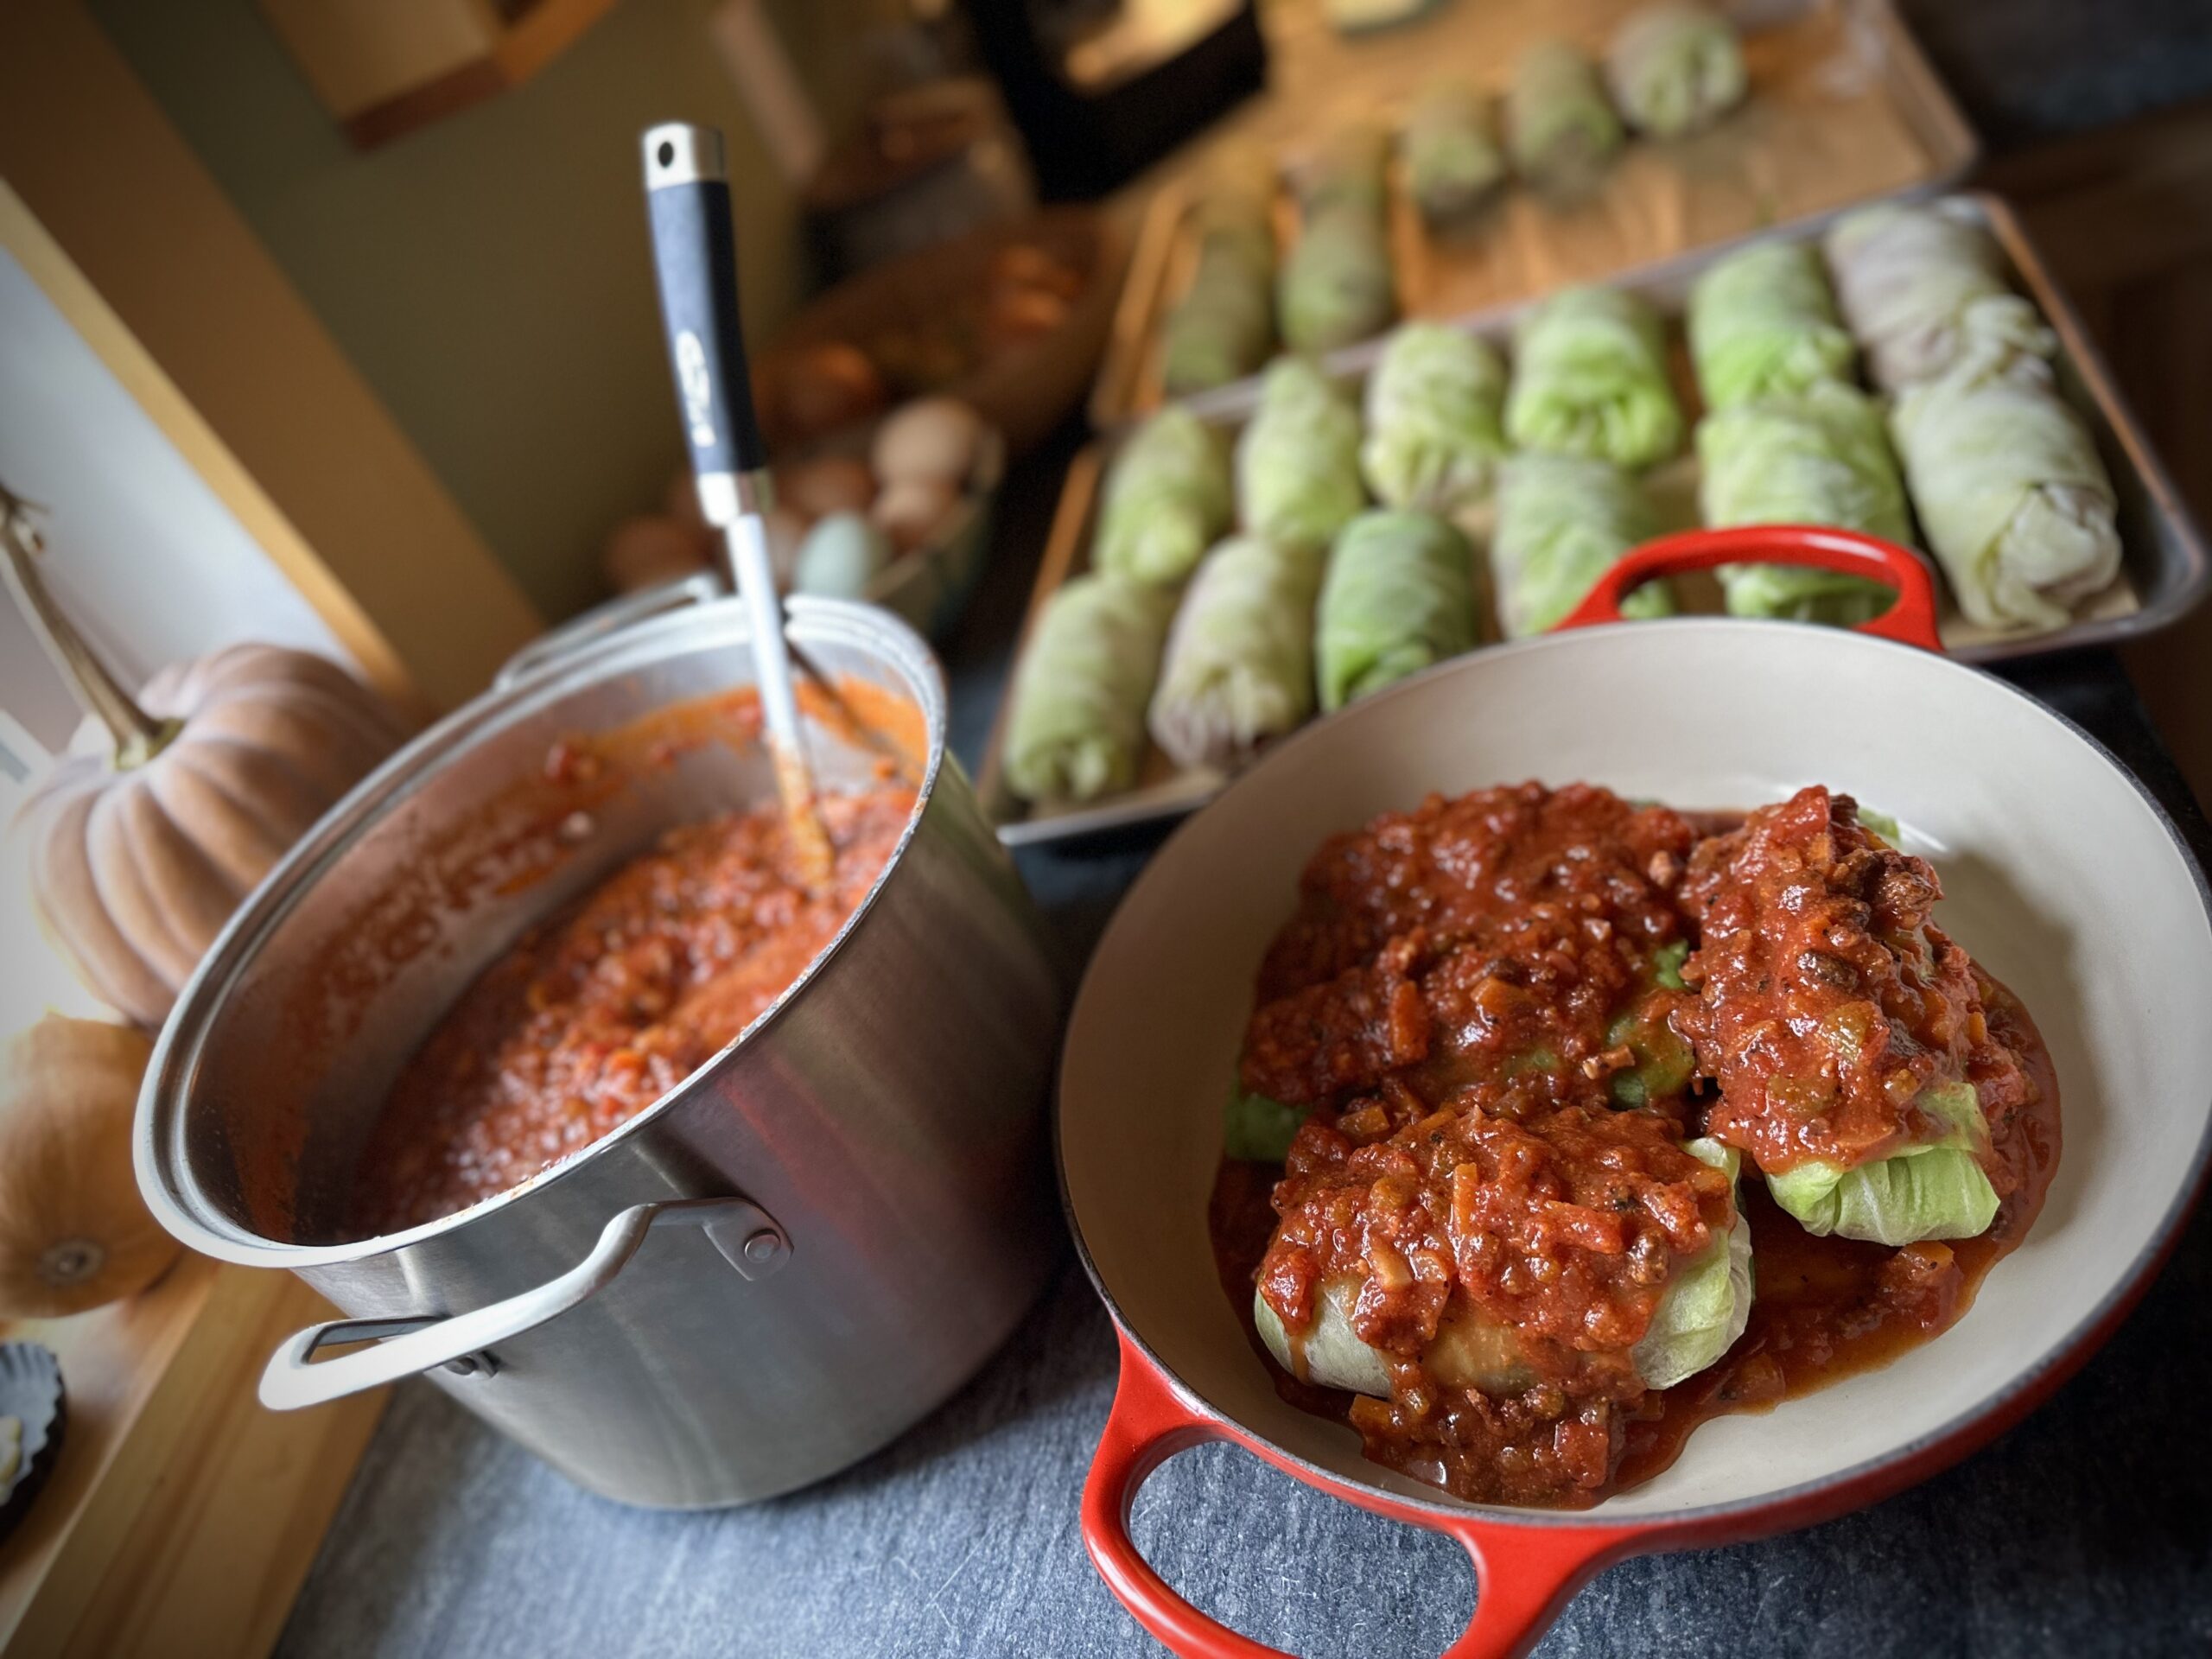
Homemade stuffed cabbage rolls assembled with tomato sauce, with more cabbage rolls and a pot of sauce in the background.

The Tomato Sauce

A good stuffed cabbage roll needs plenty of sauce. Mine has a couple unique ingredients that make it specifically for stuffed cabbage: bacon and currants. This is what makes the sauce special!

The cabbage rolls slowly cook in the sauce, where the meat juices, cabbage and tomato all mingle together. By the time everything is finished, the sauce isn’t merely something spooned over the top, it’s part of the dish. And you’ll want enough of it to be generous.

Cooking the Stuffed Cabbage Rolls

Arrange the cabbage rolls snugly in a Dutch oven or baking dish, then cover generously with tomato sauce.

  • Arrange: Place the stuffed cabbage rolls seam-side down, fitting them fairly snugly together.
  • Sauce generously: Spoon plenty of tomato sauce over the rolls. You want enough sauce surrounding them to keep the cabbage moist as it cooks.
  • Cover Tightly: Tightly cover baking pan, Dutch oven, or your favorite braising pan with a lid or foil.
  • Bake: Bake at 350º until the cabbage is very tender, sauce is bubbling, and the meat filling is completely cooked through, 60-75 minutes.
  • Rest: Let the stuffed cabbage rest for about 10–15 minutes before serving. Spoon plenty of that tomato-rich sauce over each roll.


Like many slow-cooked foods, stuffed cabbage may be even better after it has had a little time to sit. The cabbage becomes meltingly tender and the flavors of the beef, tomato and cabbage settle together beautifully, making the leftovers particularly good.

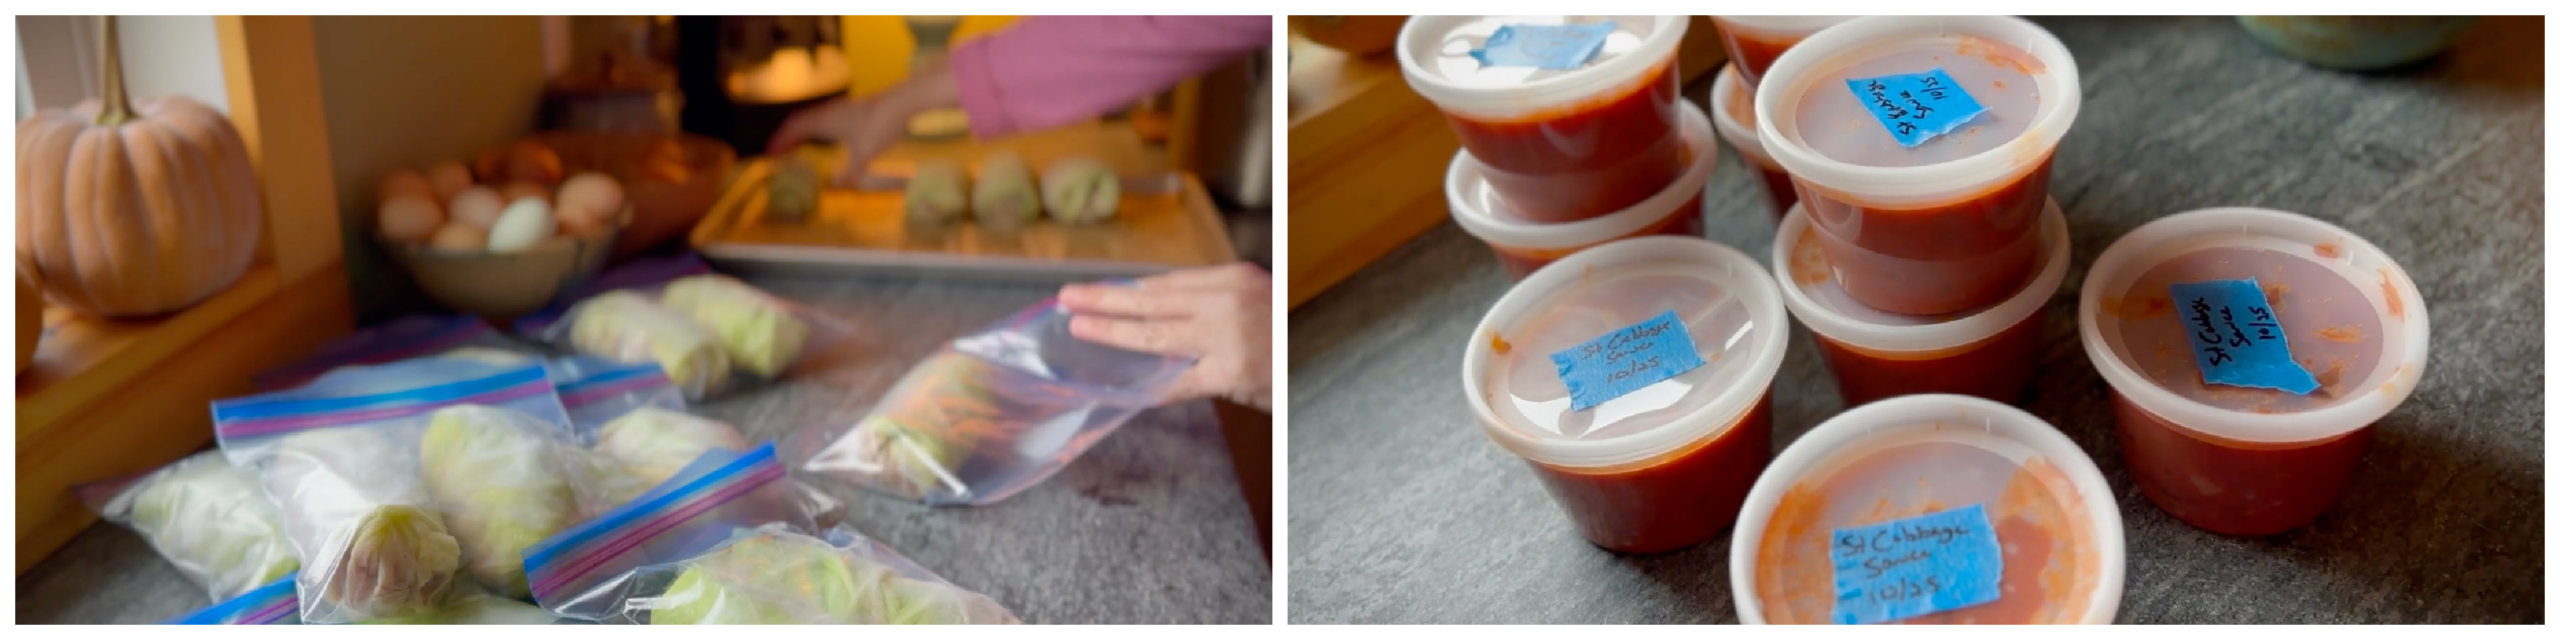
Homemade stuffed cabbage rolls packed into freezer bags, alongside individual containers of tomato sauce labeled and ready for freezing.

How to Freeze Stuffed Cabbage Rolls

  • Assemble the cabbage rolls but don’t cook them.
  • Arrange them in a single layer on a baking sheet.
  • Freeze until solid.
  • Transfer the frozen rolls to freezer bags and remove as much air as practical.
  • Freeze the tomato sauce separately in appropriately sized containers.
  • Label and date everything.

Why I Make a Big Batch

This recipe could be scaled down. If working with a homegrown harvest though, I just don’t see the point. In fact, larger families might want to scale up!

The time-consuming part of stuffed cabbage isn’t making twelve rolls versus twenty-four. It’s getting out the stockpot, blanching the cabbage, preparing the leaves, mixing the filling and making the sauce.

Once the kitchen is already committed, I might as well fill the freezer.

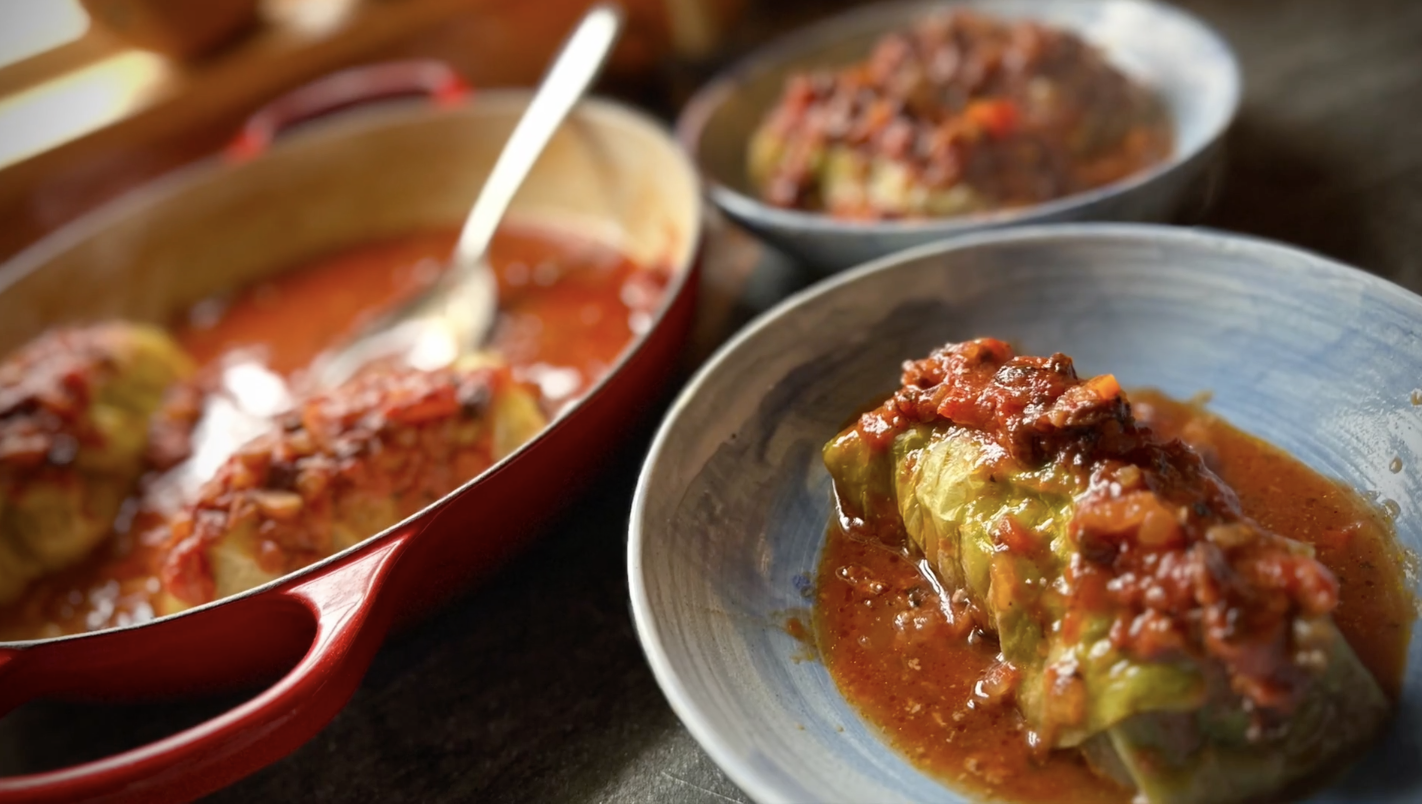
Homemade stuffed cabbage roll topped with rich tomato sauce in a blue bowl, with more cabbage rolls in a red Dutch oven.

What to Serve with Stuffed Cabbage

Stuffed cabbage is already a substantial meal, so I don’t serve much with it. A loaf of homemade bread and butter is plenty. A simple green salad is lovely if you have fresh green on hand. 

But truthfully? A bowl or plate of stuffed cabbage with plenty of tomato sauce needs very little assistance.

This dish would pair nicely with a dessert of Old Fashioned Applesauce Spice Cake with Caramel Glaze, or for the chocolate lovers, a delightful batch of this easy to make Chocolate Mousse. You really can’t go wrong with either. 

Stuffed Cabbage Rolls (Freezer Friendly)

A hearty, comforting meal that's perfect for making in large batches and stocking the freezer.
Don't let the length of this recipe intimidate you. Think of it as part preserving the harvest, and part freezer meal prep. Lots of little notes and tips from my kitchen to yours.
This is something I make in big batches once per year when the cabbage is harvested, and freeze for future meals. Feel free to scale the recipe up or down depending on your needs.
Servings: 12 servings

Ingredients

For the Cabbage Rolls:

  • 2 green cabbage, about 4 lb total, outer leaves discarded
  • 2 lb lean ground pork, or beef
  • 2 cup cooked rice
  • 2 eggs
  • 6 green onions, white and light green portions, thinly sliced
  • 1/2 tsp freshly grated nutmeg
  • 2 tsp salt
  • 1 tsp freshly ground pepper

For the Sauce:

  • 8 bacon slices, chopped
  • 2 onions, chopped
  • 2 celery stalk, chopped
  • 2 carrots, chopped
  • 2 cans, 28 oz. each crushed tomatoes
  • 2 cups chicken or beef broth
  • 1/2 cup currants, small raisins
  • Salt and pepper, to taste

Instructions

  • To make the rolls, bring a large pot of water to a boil over high heat. With a paring knife, cut out the core from the cabbage. Remove outer leaves. Lower cabbage into boiling water and cook until the leaves soften, about 5 minutes. Remove the cabbage, set aside to cool. When cabbage is cool enough, gently peel off outer leaves from each head. Sometimes I easily pull off about 6, then the cabbage needs to go back in the boiling water for a minute or so to tenderize more leaves. Set aside peeled leaves to cool. Coarsely chop enough of the remaining cabbage to make 2 cups.
  • In a bowl, combine the chopped cabbage, pork, rice, egg, green onions, nutmeg, salt and pepper. Using clean hands or a rubber spatula, blend the ingredients until combined. Divide the filling among the cabbage leaves. Fold the core end of each leaf over the filling, then fold in the sides and roll up the leaf.
    To cook now: Place in baking pan or dutch oven.
    To freeze for later: Arrange uncooked rolls on baking sheets and flash-freeze before transferring to freezer bags.
  • In a large saucepan over medium heat, cook the bacon, stirring, until crisp, about 5 minutes. Transfer to a paper towel-lined plate to drain.
  • Add the onion, celery, and carrot to the pot and sauté over medium heat until the vegetables are tender and golden, about 5 minutes. Stir in the tomatoes, broth and currants. Add bacon back to the pan, simmer sauce for a few minutes. Add salt and pepper to taste. The flavor of this sauce deepens if you make it a day in advance.
    If making to serve the rolls now, spoon sauce over the rolls.
    If freezing for later, cool sauce and store in pint size freezer containers.
  • Cover tightly. Bake thawed rolls at 350º for 60-75 minutes, until rolls are tender and sauce is bubbly. Internal temperature should be 160º.
    Or, see freezer instructions in the notes section.

Notes

This recipe is written with bulk freezer cooking in mind, originally posted in my Whole Food Freezer cooking class many years ago. But you have options:
  • Cook now: Assemble the rolls in a baking dish or Dutch oven, add sauce, and bake.
  • Freeze for later: Flash-freeze individual uncooked rolls, package them in meal-sized portions, and freeze the sauce separately.
  • Prepare complete freezer meals: Assemble rolls and sauce in freezer-safe baking dishes, wrap securely, and freeze.
  • Cooking Frozen Rolls: Thaw the rolls and sauce in the refrigerator for 1–2 days. Arrange in a baking dish, cover with sauce, and bake covered at 350°F for approximately 60–75 minutes, until the cabbage is tender, the sauce is bubbling, and the center of the rolls reaches 160°F. I've also baked these directly from frozen, using thawed sauce and allowing additional cooking time. Check the internal temperature rather than relying on the clock.
 
Welcome

Settle in and make yourself at home. Here you will find from scratch recipes from my kitchen to yours. For everyday musings, please visit me on Instagram. Would you like a little more info? You can do that here.

Hearth & Home

Weekly lessons on all things related to homemaking, growing and preserving food, family herbalism, preparedness and homesteading.

ShareThis Blog

Facebook
Pinterest

2 Responses

  1. Oh my, I can almost smell this cooking! Your photos are just that tempting . I recently rewatched your Chicken Parmesan video in “Preparing for the Harvest” and decided to switch it to Mozzarella cheese, we like that better. Road trip food is another good one! Thank you for sharing your thoughts with us.

Leave a Reply

Your email address will not be published. Required fields are marked *

Recipe Rating