Chewy Chocolate Chip Granola Bars (Easy Recipe)
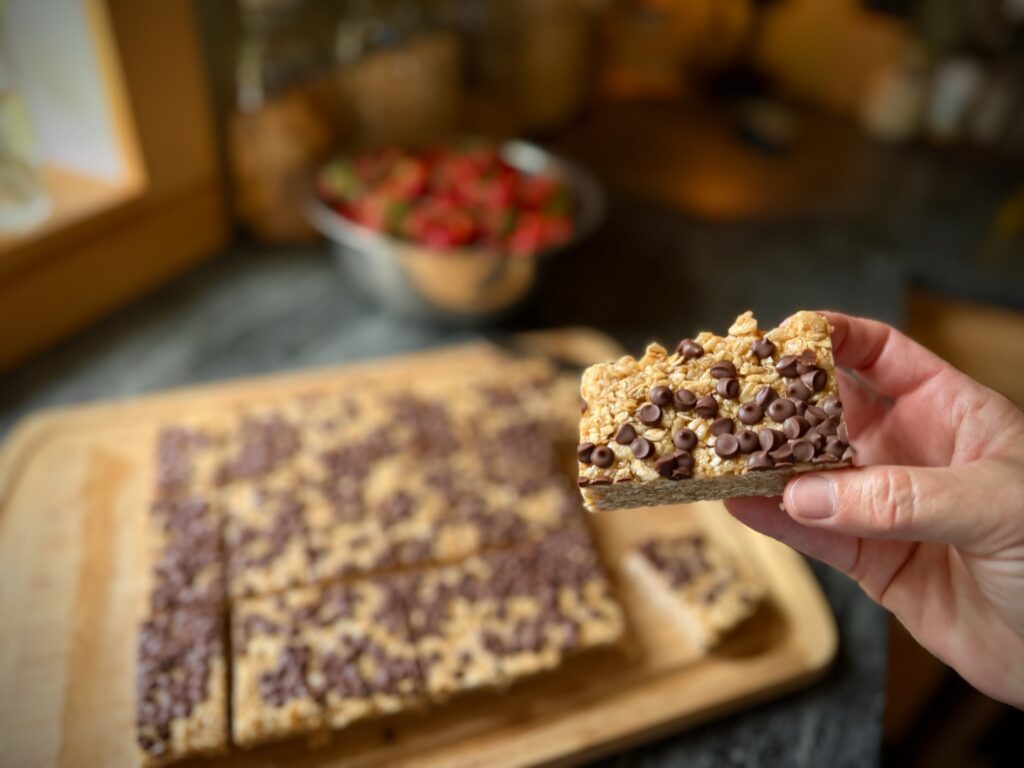
Made with everyday pantry staples, these chewy chocolate chip granola bars are a simple homemade snack that's easy to keep on hand. They're perfect for lunches, hiking, travel, or whenever you need something wholesome to grab on your way out the door.
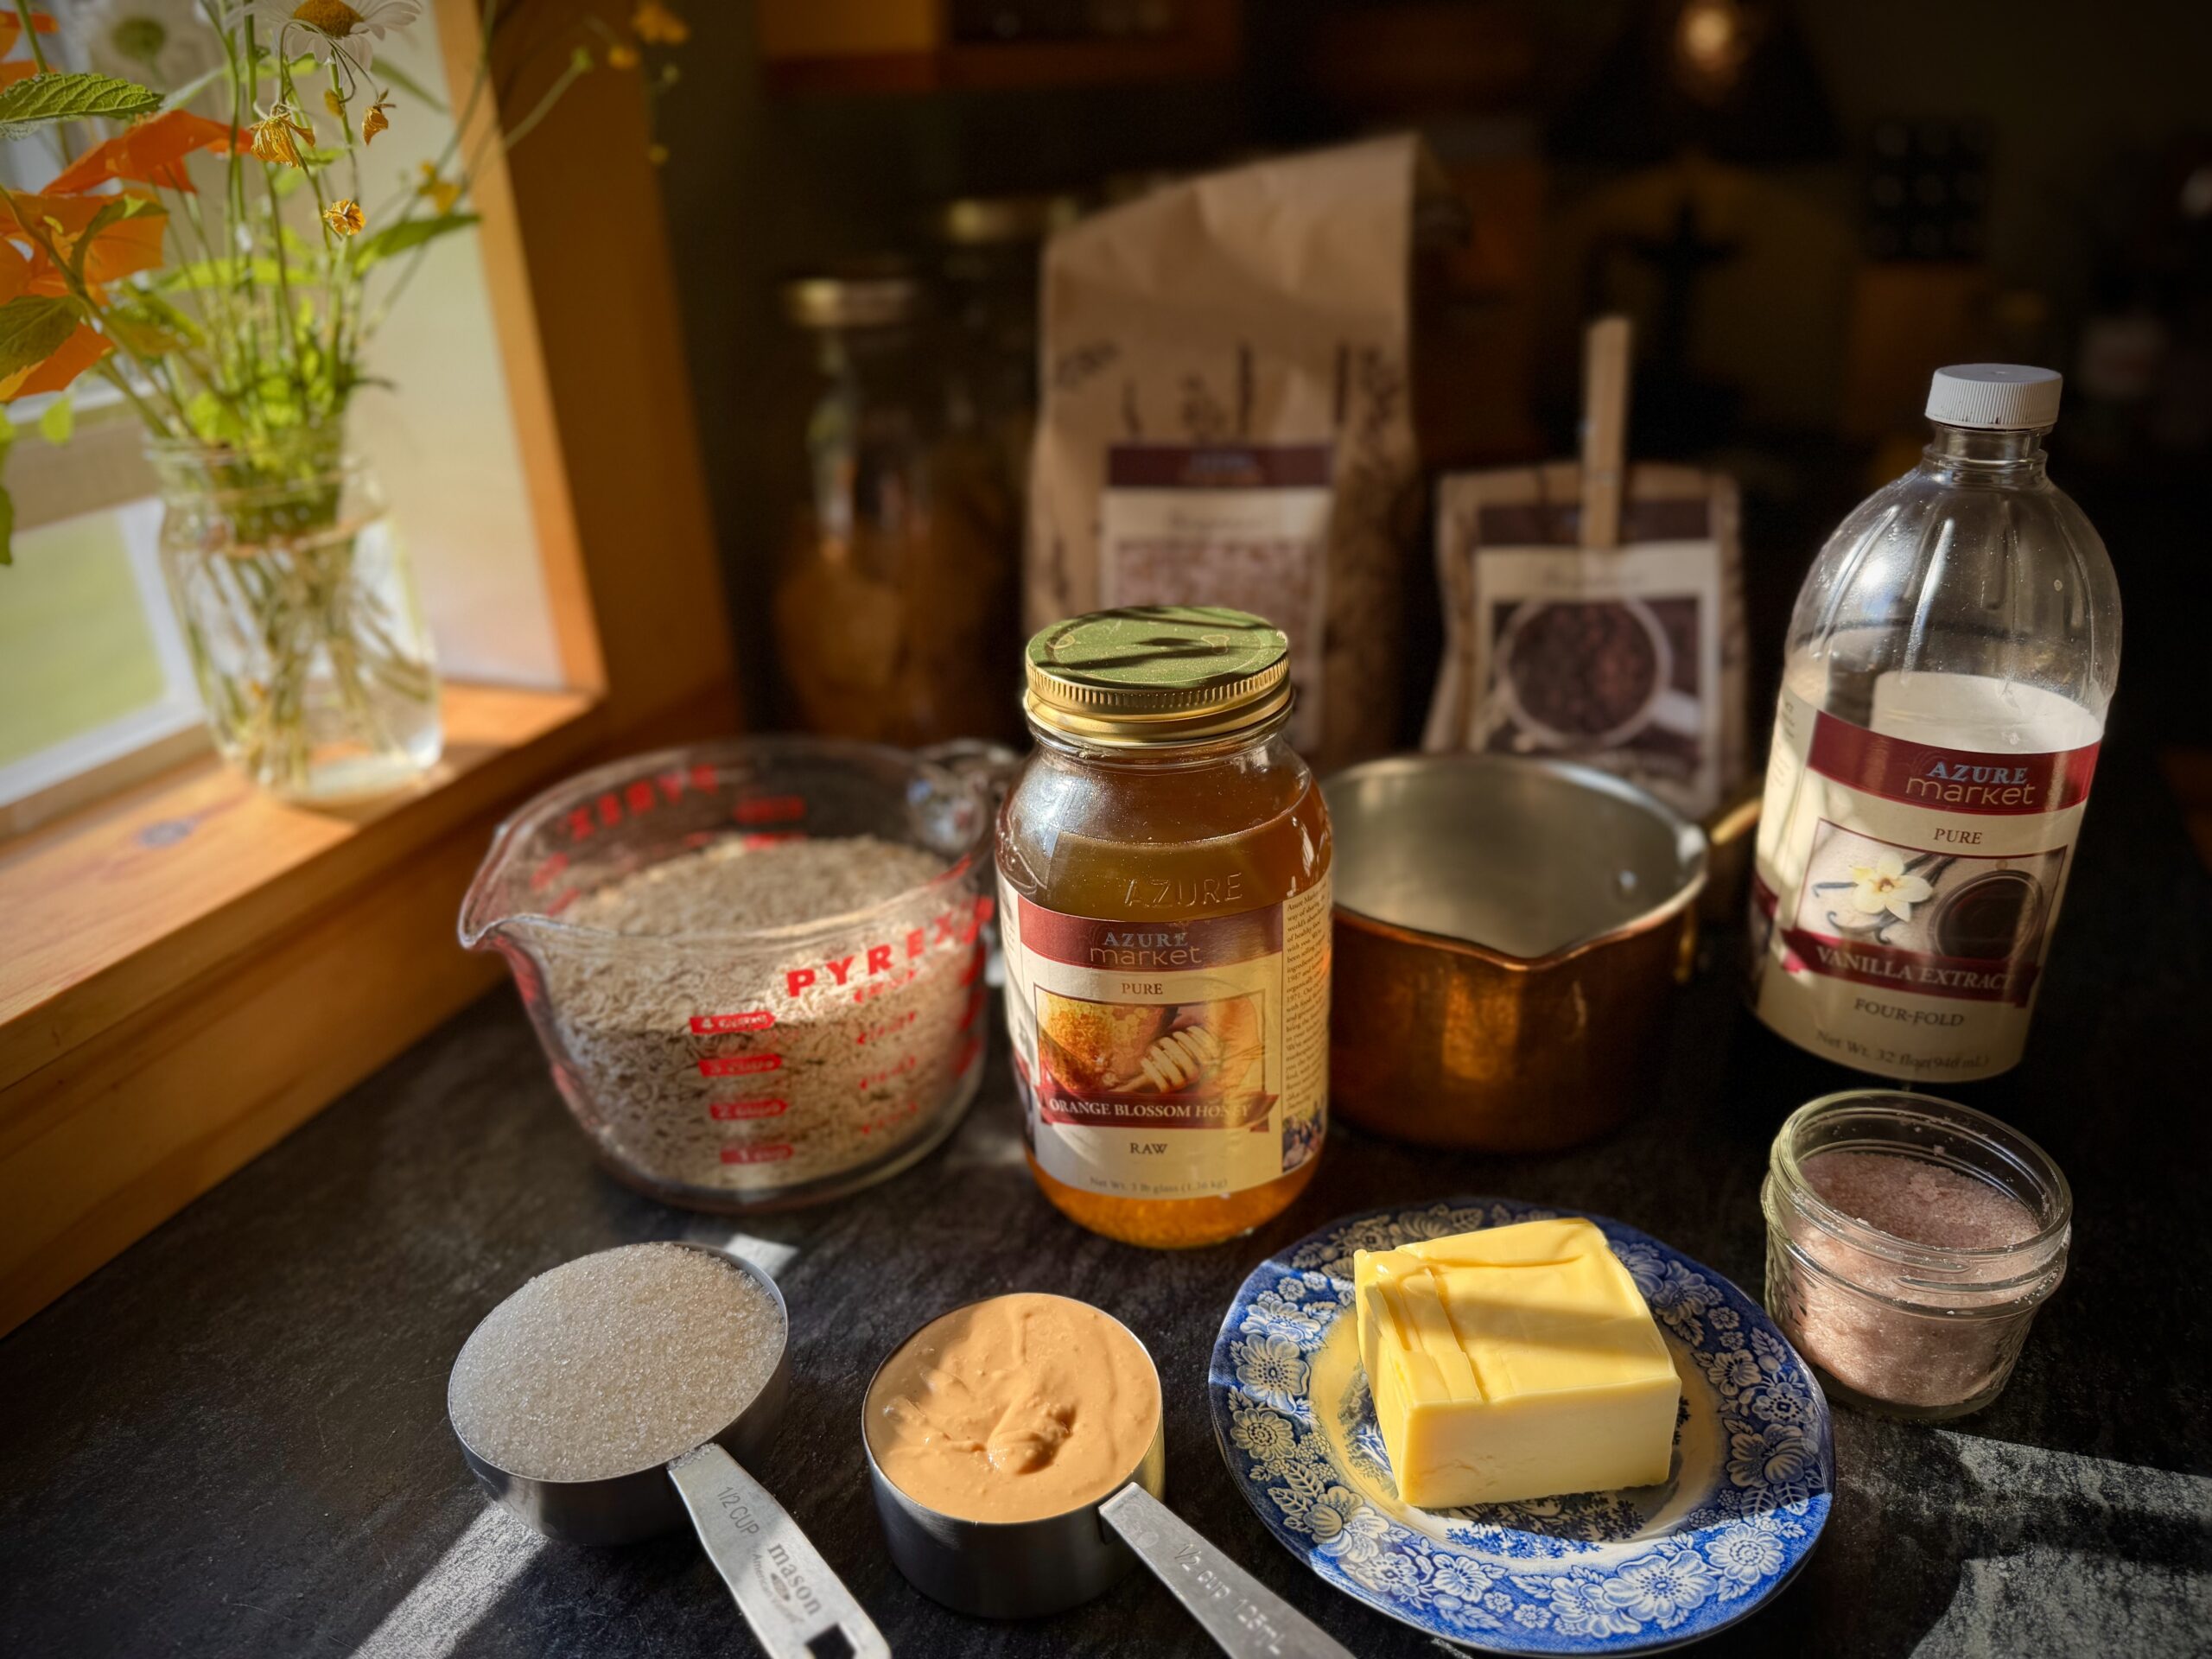
Ingredients
Method
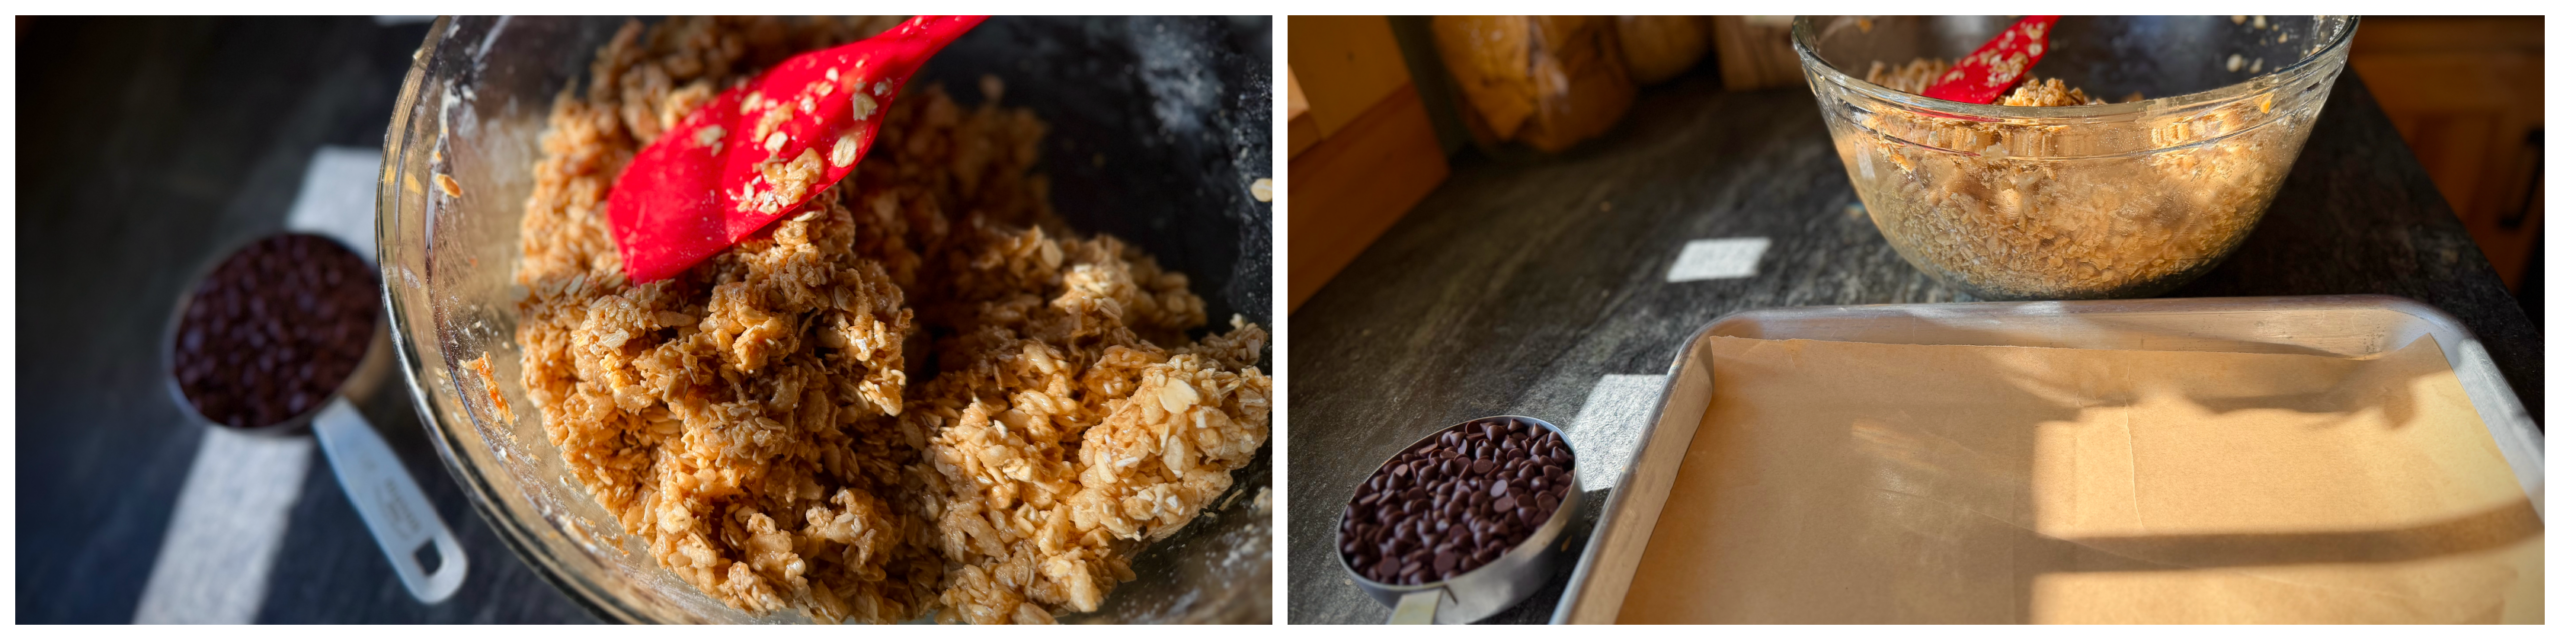
- Grease a 9x13 inch pan (or 1/4 sheet pan) with butter or coconut oil. Sometimes I’ll line with parchment paper, which makes it easier to remove for cutting.
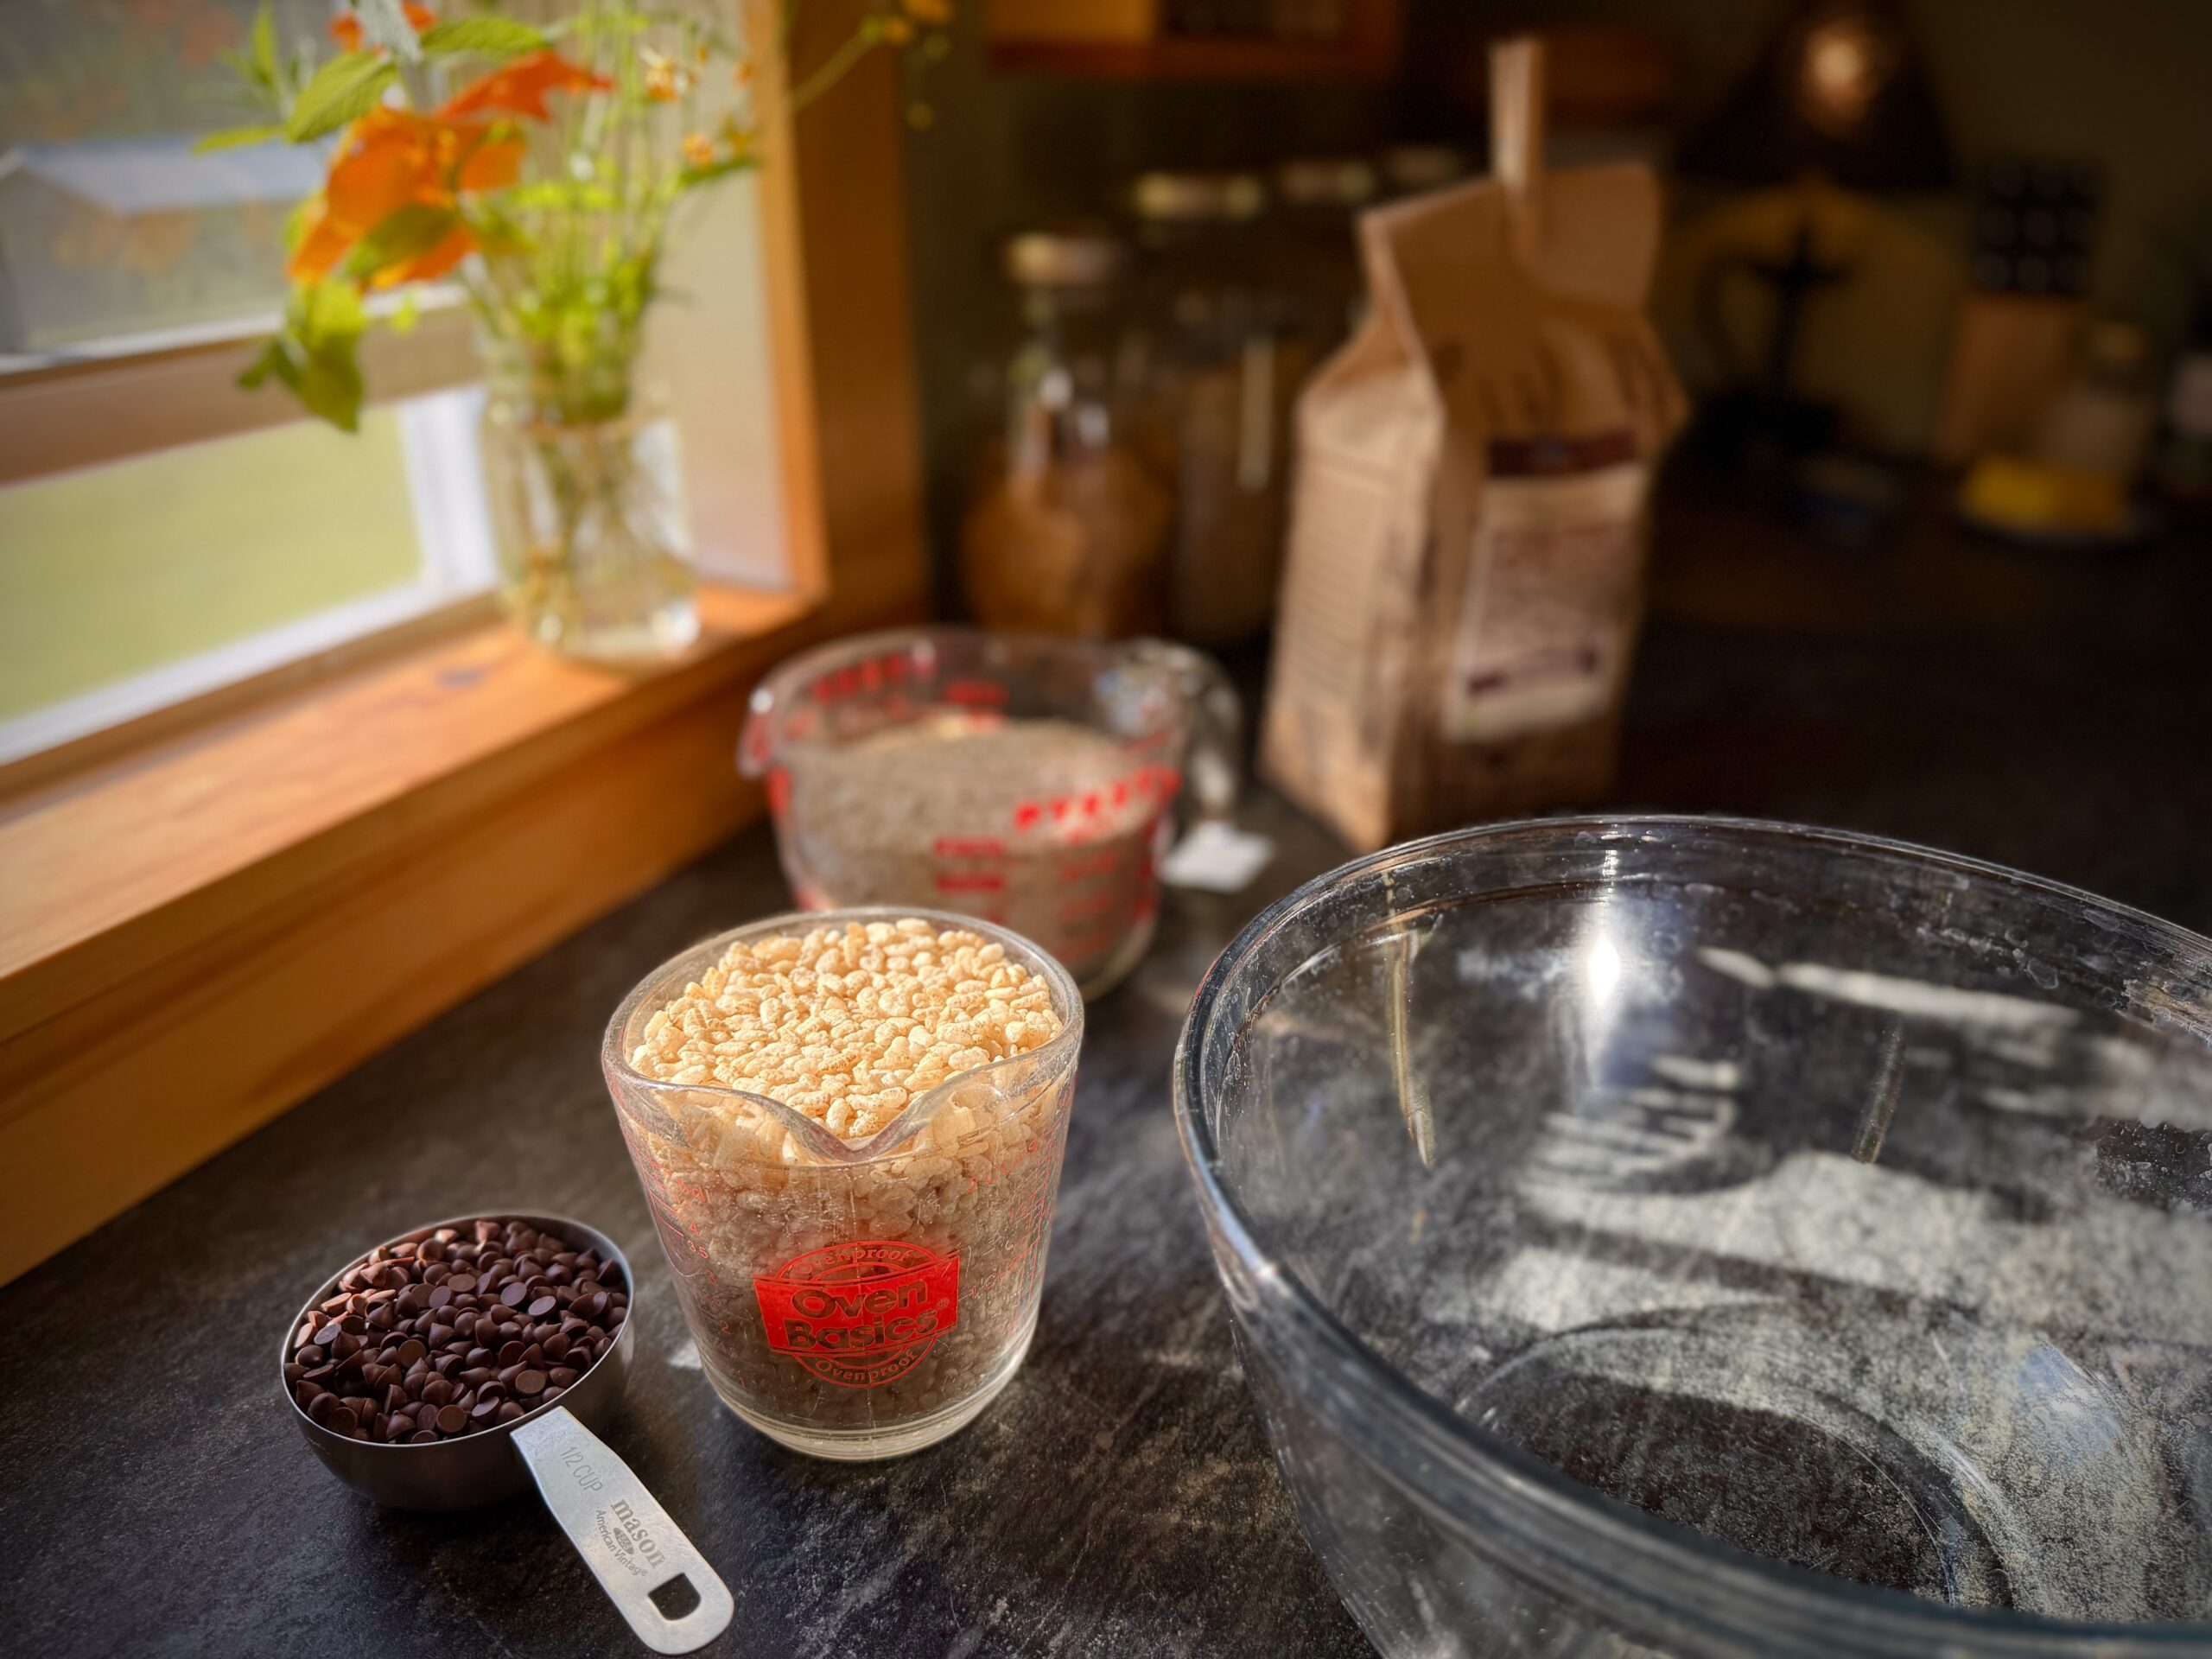
- In a large bowl, stir oats and cereal together. Set aside.
- In a medium pot, melt butter, honey, peanut butter, sugar and salt together over medium-high heat. Let it start to bubble. Reduce heat a bit, cook and stir for 2 minutes at a gentle boil. Add vanilla.
- Pour over cereal mixture and stir/fold with a rubber spatula until well combined.
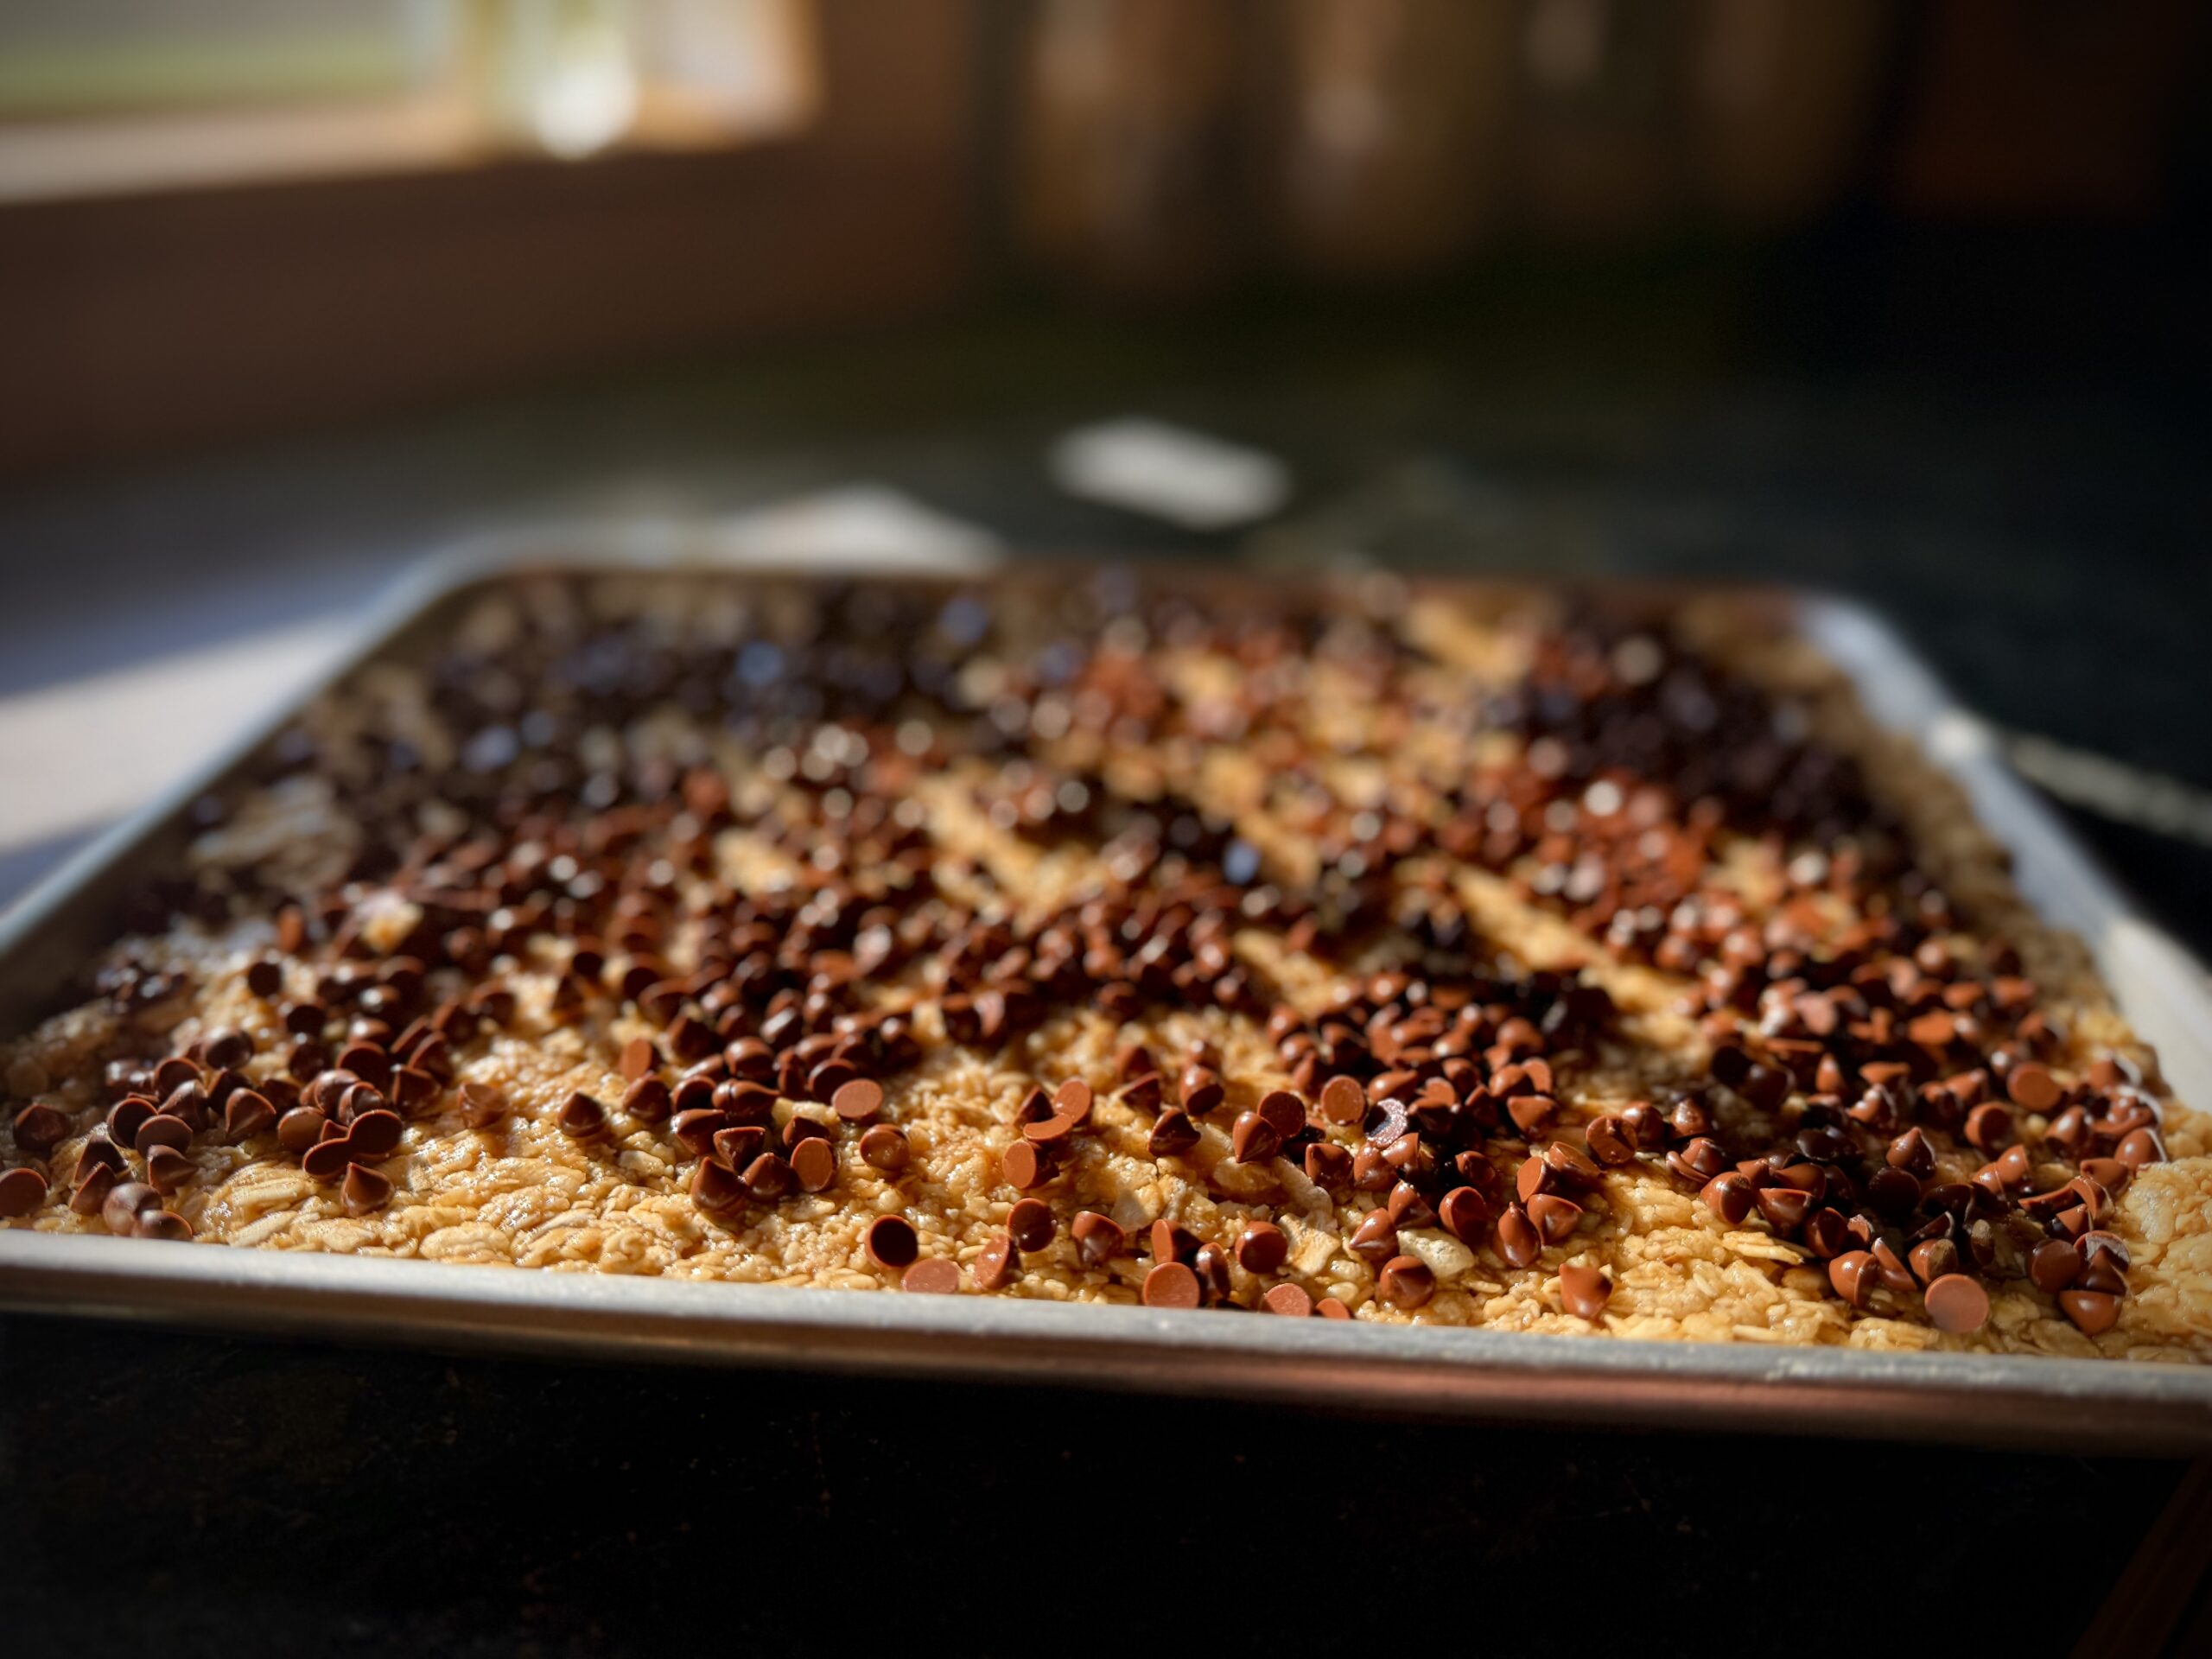
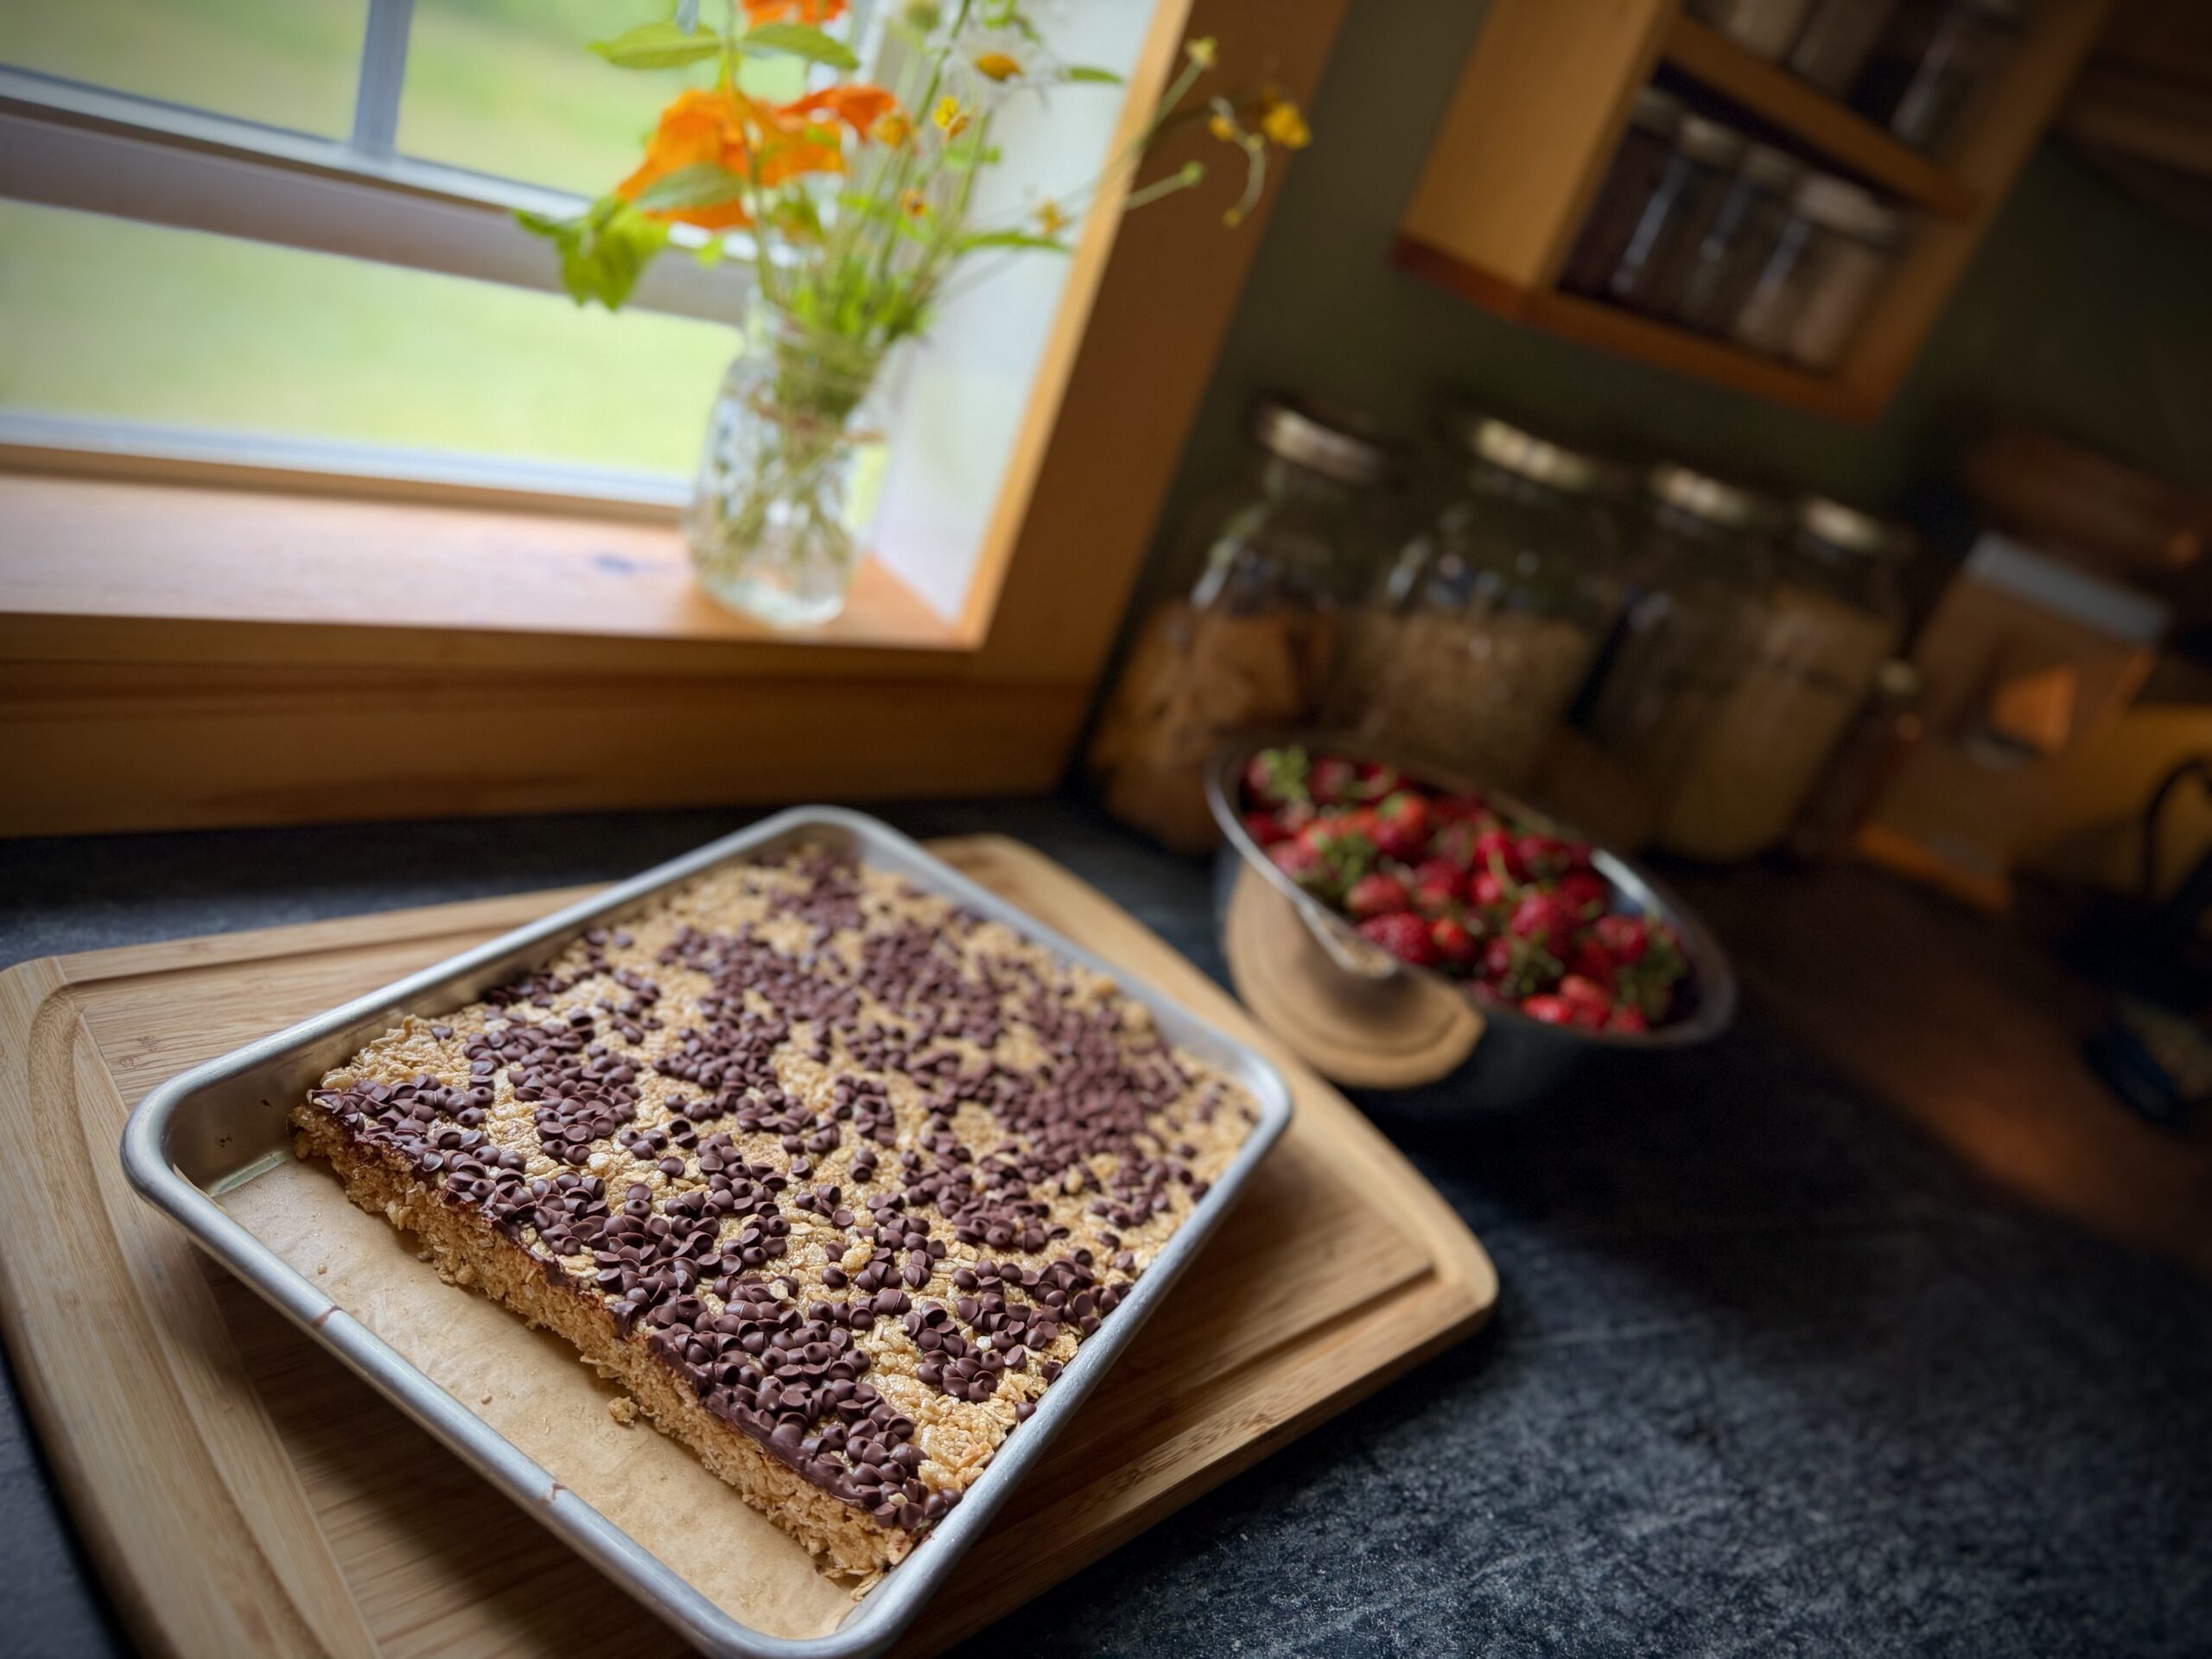
- Working quickly so you do not lose all the heat, press mixture into prepared pan evenly. A little coconut oil or butter on your hands helps prevent sticking. Sprinkle chocolate chips across the top.
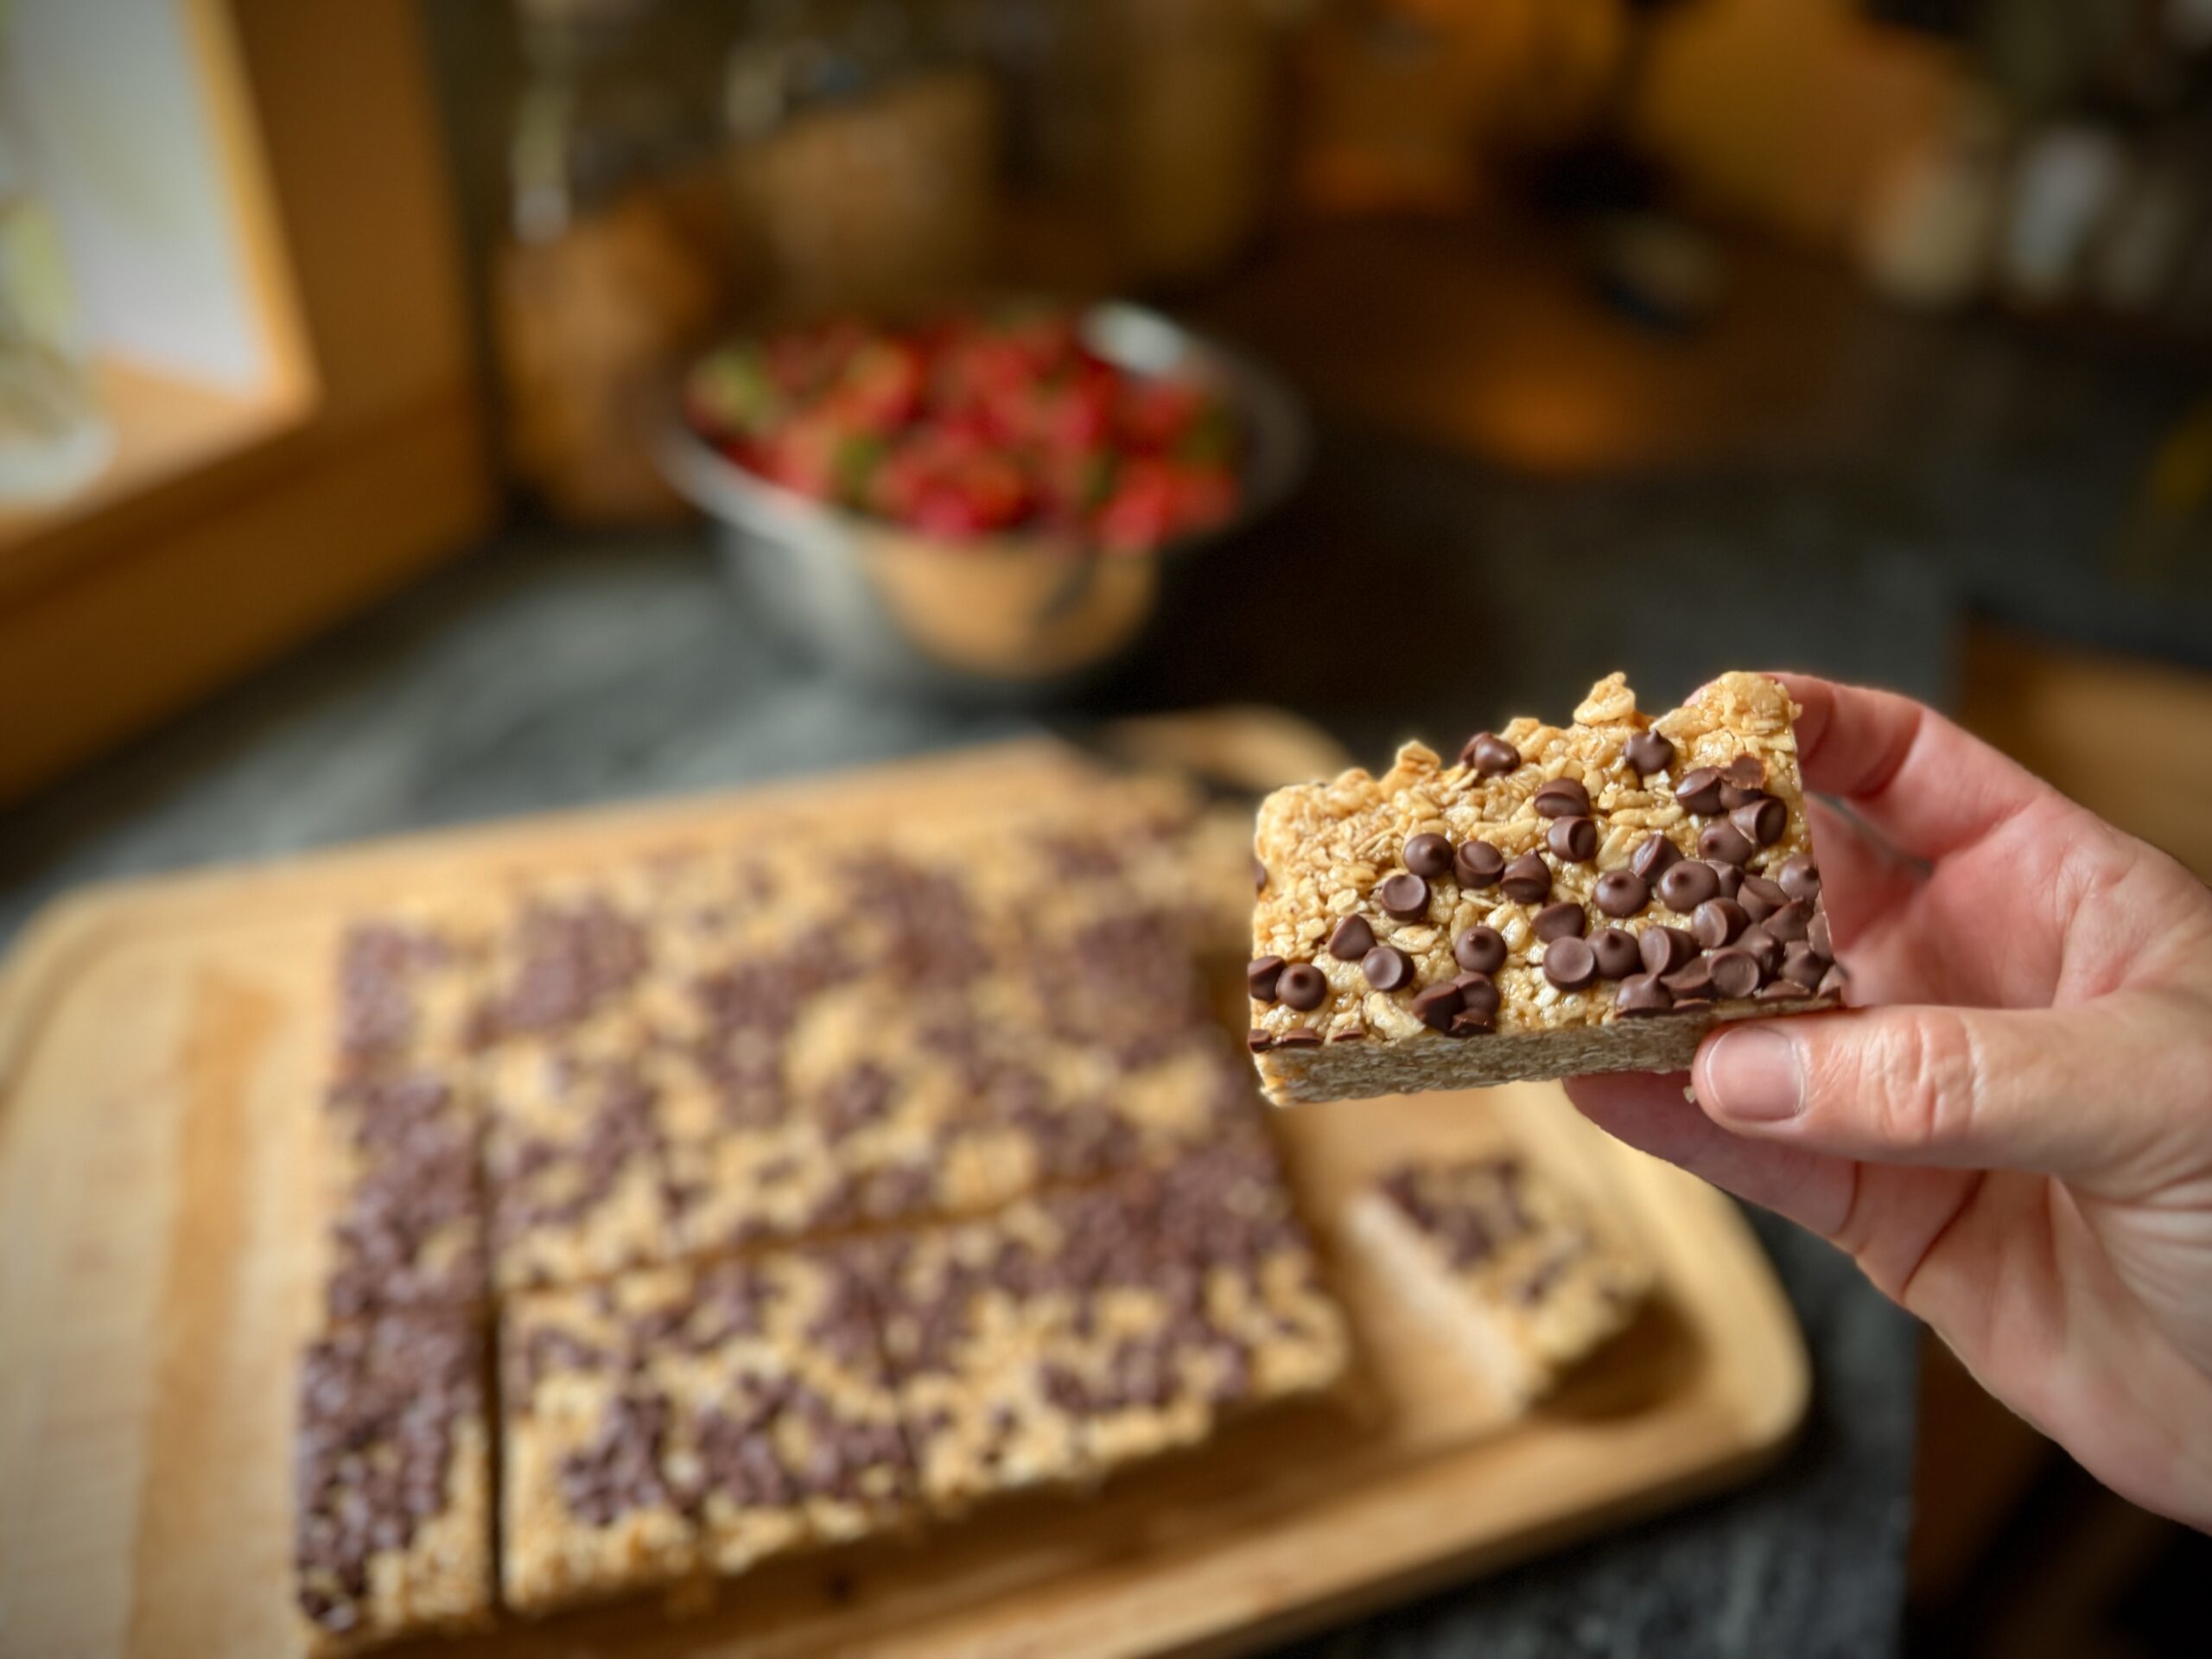
- Let sit for five minutes, the warmth of the bars will melt the chips just enough so they stick. Cool in the refrigerator for one hour. Cut into squares or rectangles.
- Store at room temperature, or the refrigerator or freezer in warmer climates.
Notes
If you’re in a warm climate you might prefer to keep granola bars in the refrigerator, or even better for longterm storage, the freezer. That way you can pop one in lunchboxes each morning and they’ll be perfect by lunchtime. You can freeze the bars individually or separate layers with parchment paper, making it easy to grab just one or two at a time.
In our northern climate they are just fine at room temperature. Enjoy!
8 Responses
Heather,
Thank you so much for sharing these recipes. I do have a thought/request – would it be possible to have the picture, ingredients and method/instructions all on the first page of printing the recipe out? It is “difficult” to flip back and forth when following the recipe. I’m not sure how much “white space” you could delete from the template, so it might be more of a problem to change.
Again, thank you for adding these wonderful pictures.
Melissa – long time blog reader
Thank you for this feedback Melissa. I’ll have to look into it, I’m not sure if I have that kind of control with WordPress (the way I do with my membership), but I hear you and will see if it’s an option.
Thank you! Where do you buy your rice crisps now if not from azure?
Any natural food store in your area should have them in the cereal section. I’ve never had trouble finding them there.
This may be a silly question, but in your ingredients list where you say sugar, maple or cane are you referring to maple syrup?
I am referring to maple sugar. It swaps 1:1 for cane sugar and you don’t have to make special considerations due to the liquid nature of syrup. We are sugarmakers, so we mostly use maple sugar instead of cane sugar.
Curious if anyone has used Almond butter instead of peanut butter. We don’t have a peanut sensitivity in the family, some family members don’t enjoy peanut butter as much as others.
I haven’t but I think it would be wonderful!